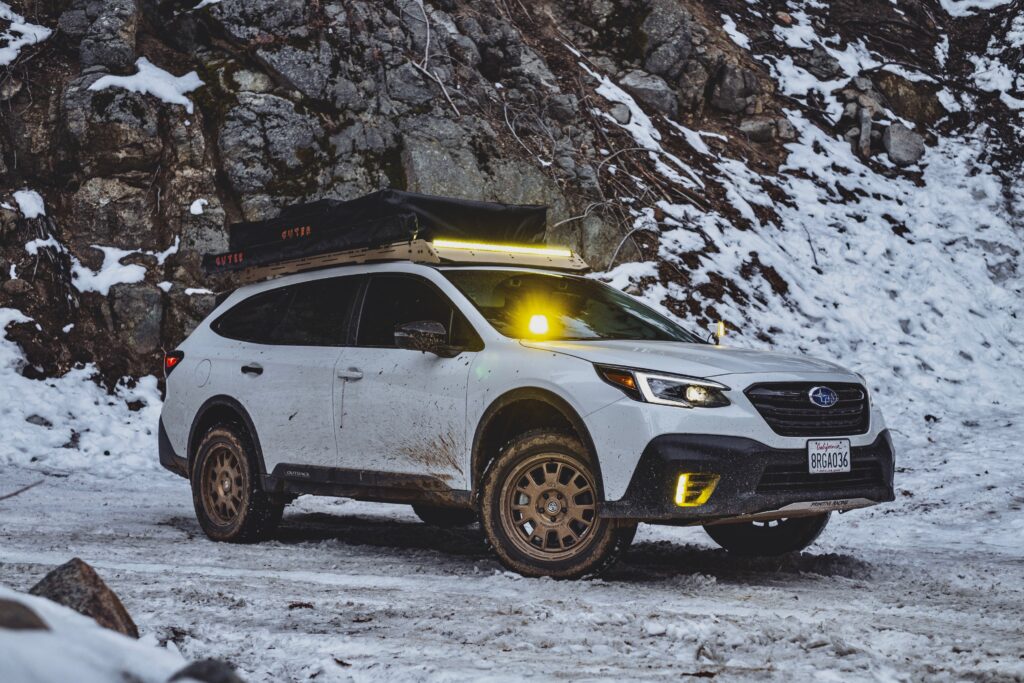
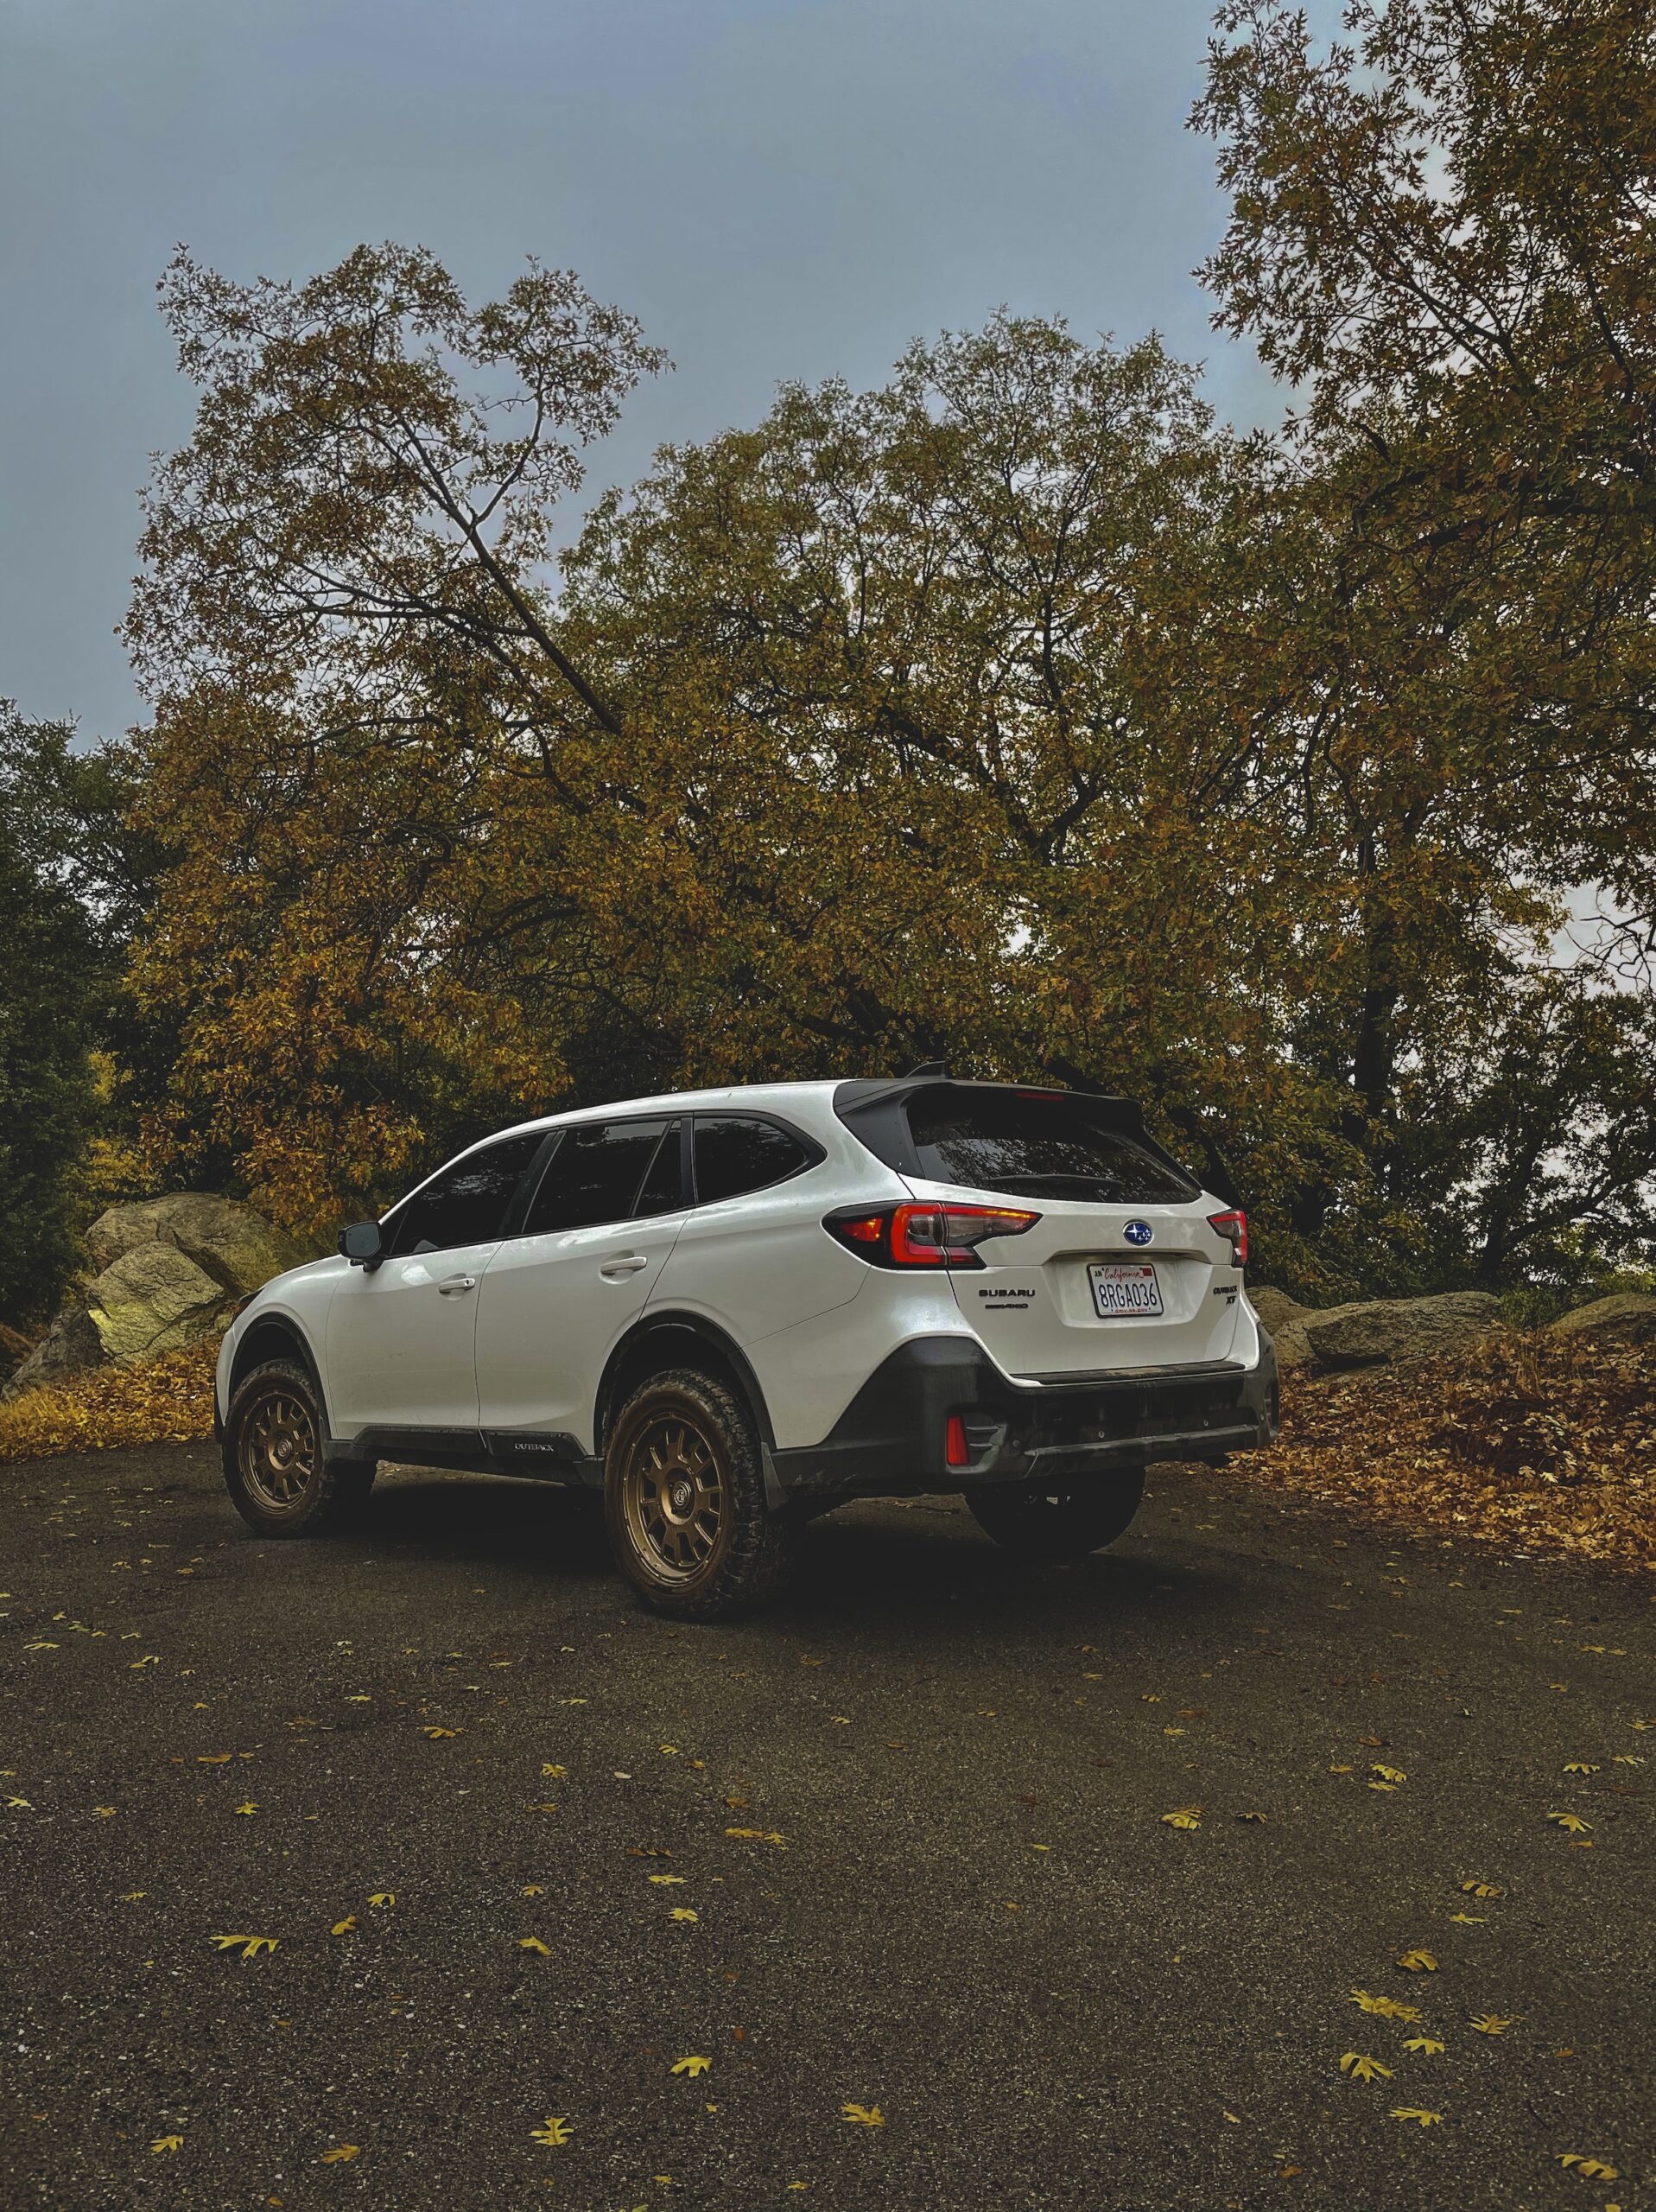
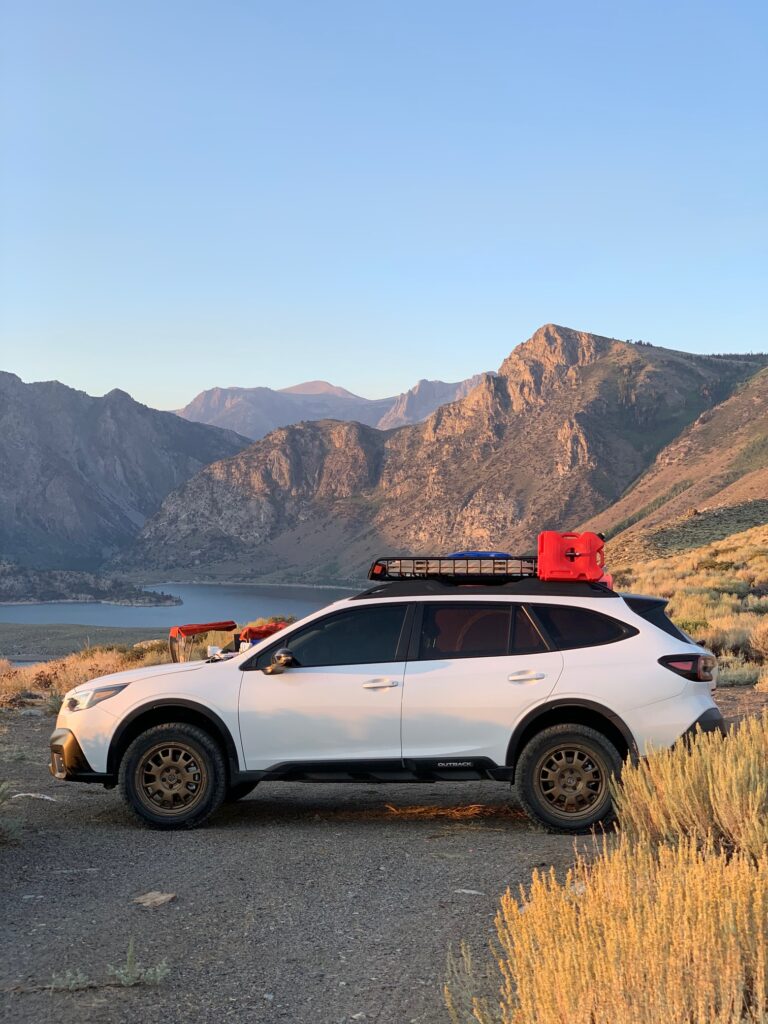
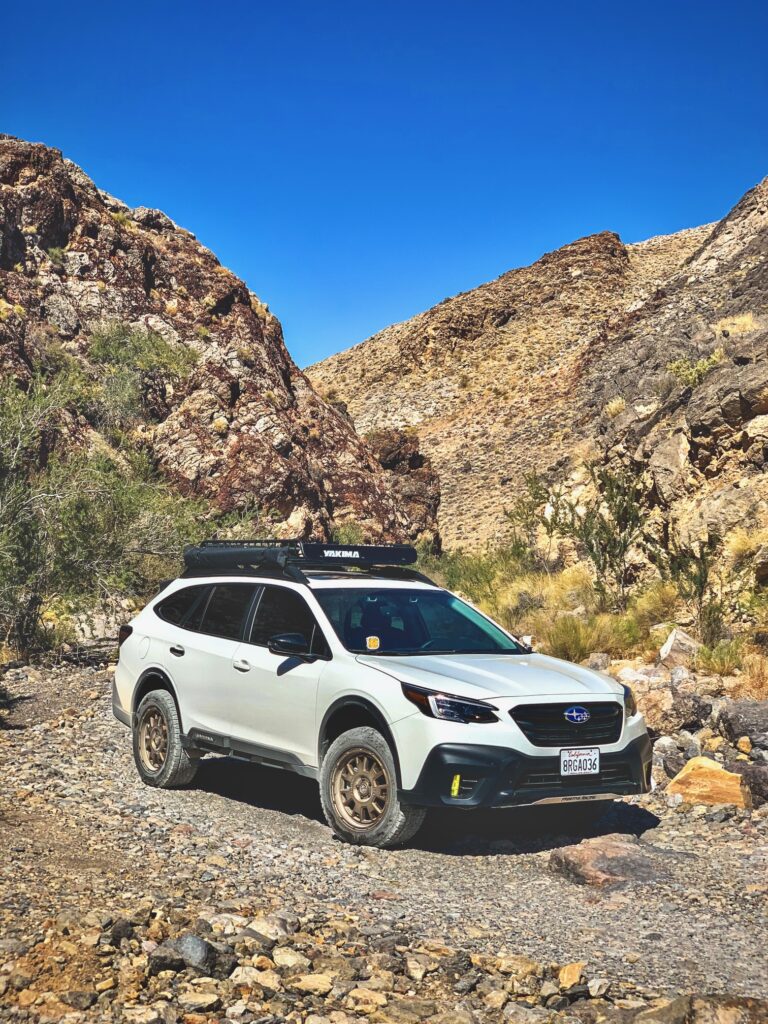
As soon as the Outback XT hit the showroom floor, we started looking out for a lifted version that we could share with our readers. We finally found Jay and his 2.5″ lifted Outback. He’s graciously agreed to share a little of the background on the build. He’ll lay out each part used for the lift, his wheel and tire setup, and other vital information that you’ll want to know before lifting your 6th gen Outback.
If you’d like to follow along with Jay’s build, find him on Instagram at @outn_back to keep up with any new modifications made to the car.
First things first….
The Mod List:
- ReadyLift 2″ Lift Kit
- RalliTek Overload Springs (+0.5″)
- Whiteline Adjustable Front Sway Bar Endlinks
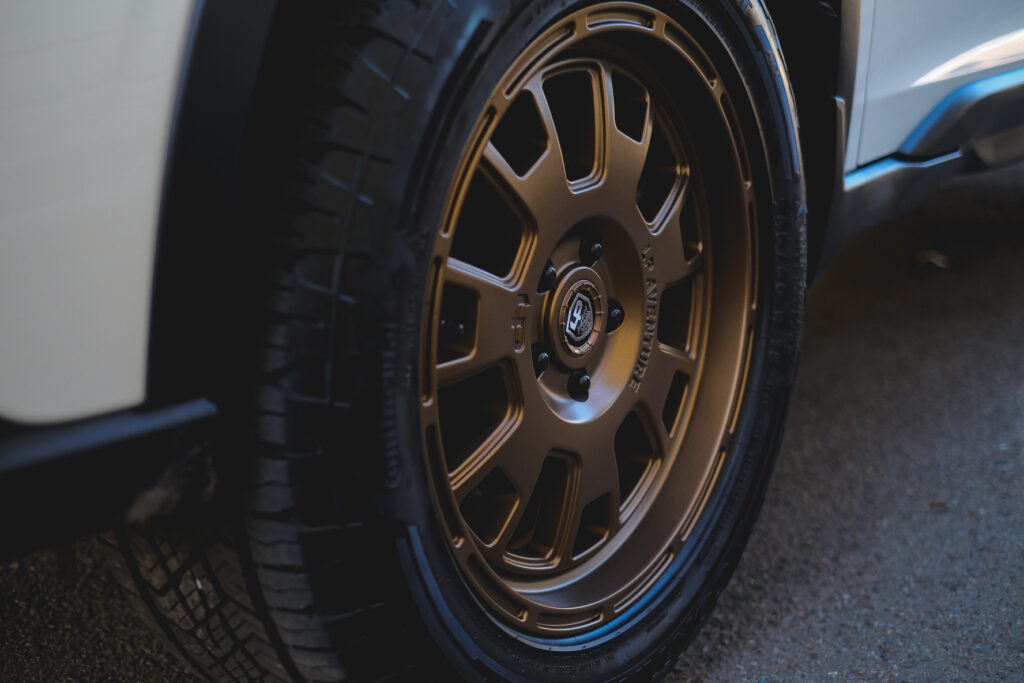
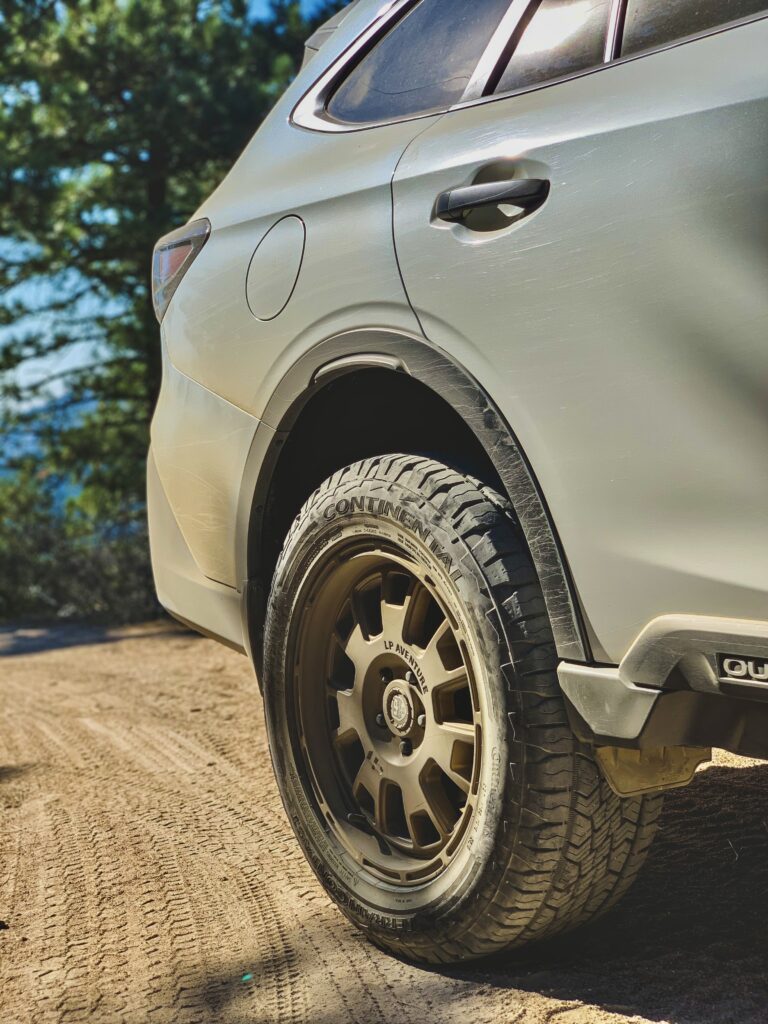
- LP Aventure LP7 18×8 Wheels
- Continental Terrain Contact 245/60/R18 Tires
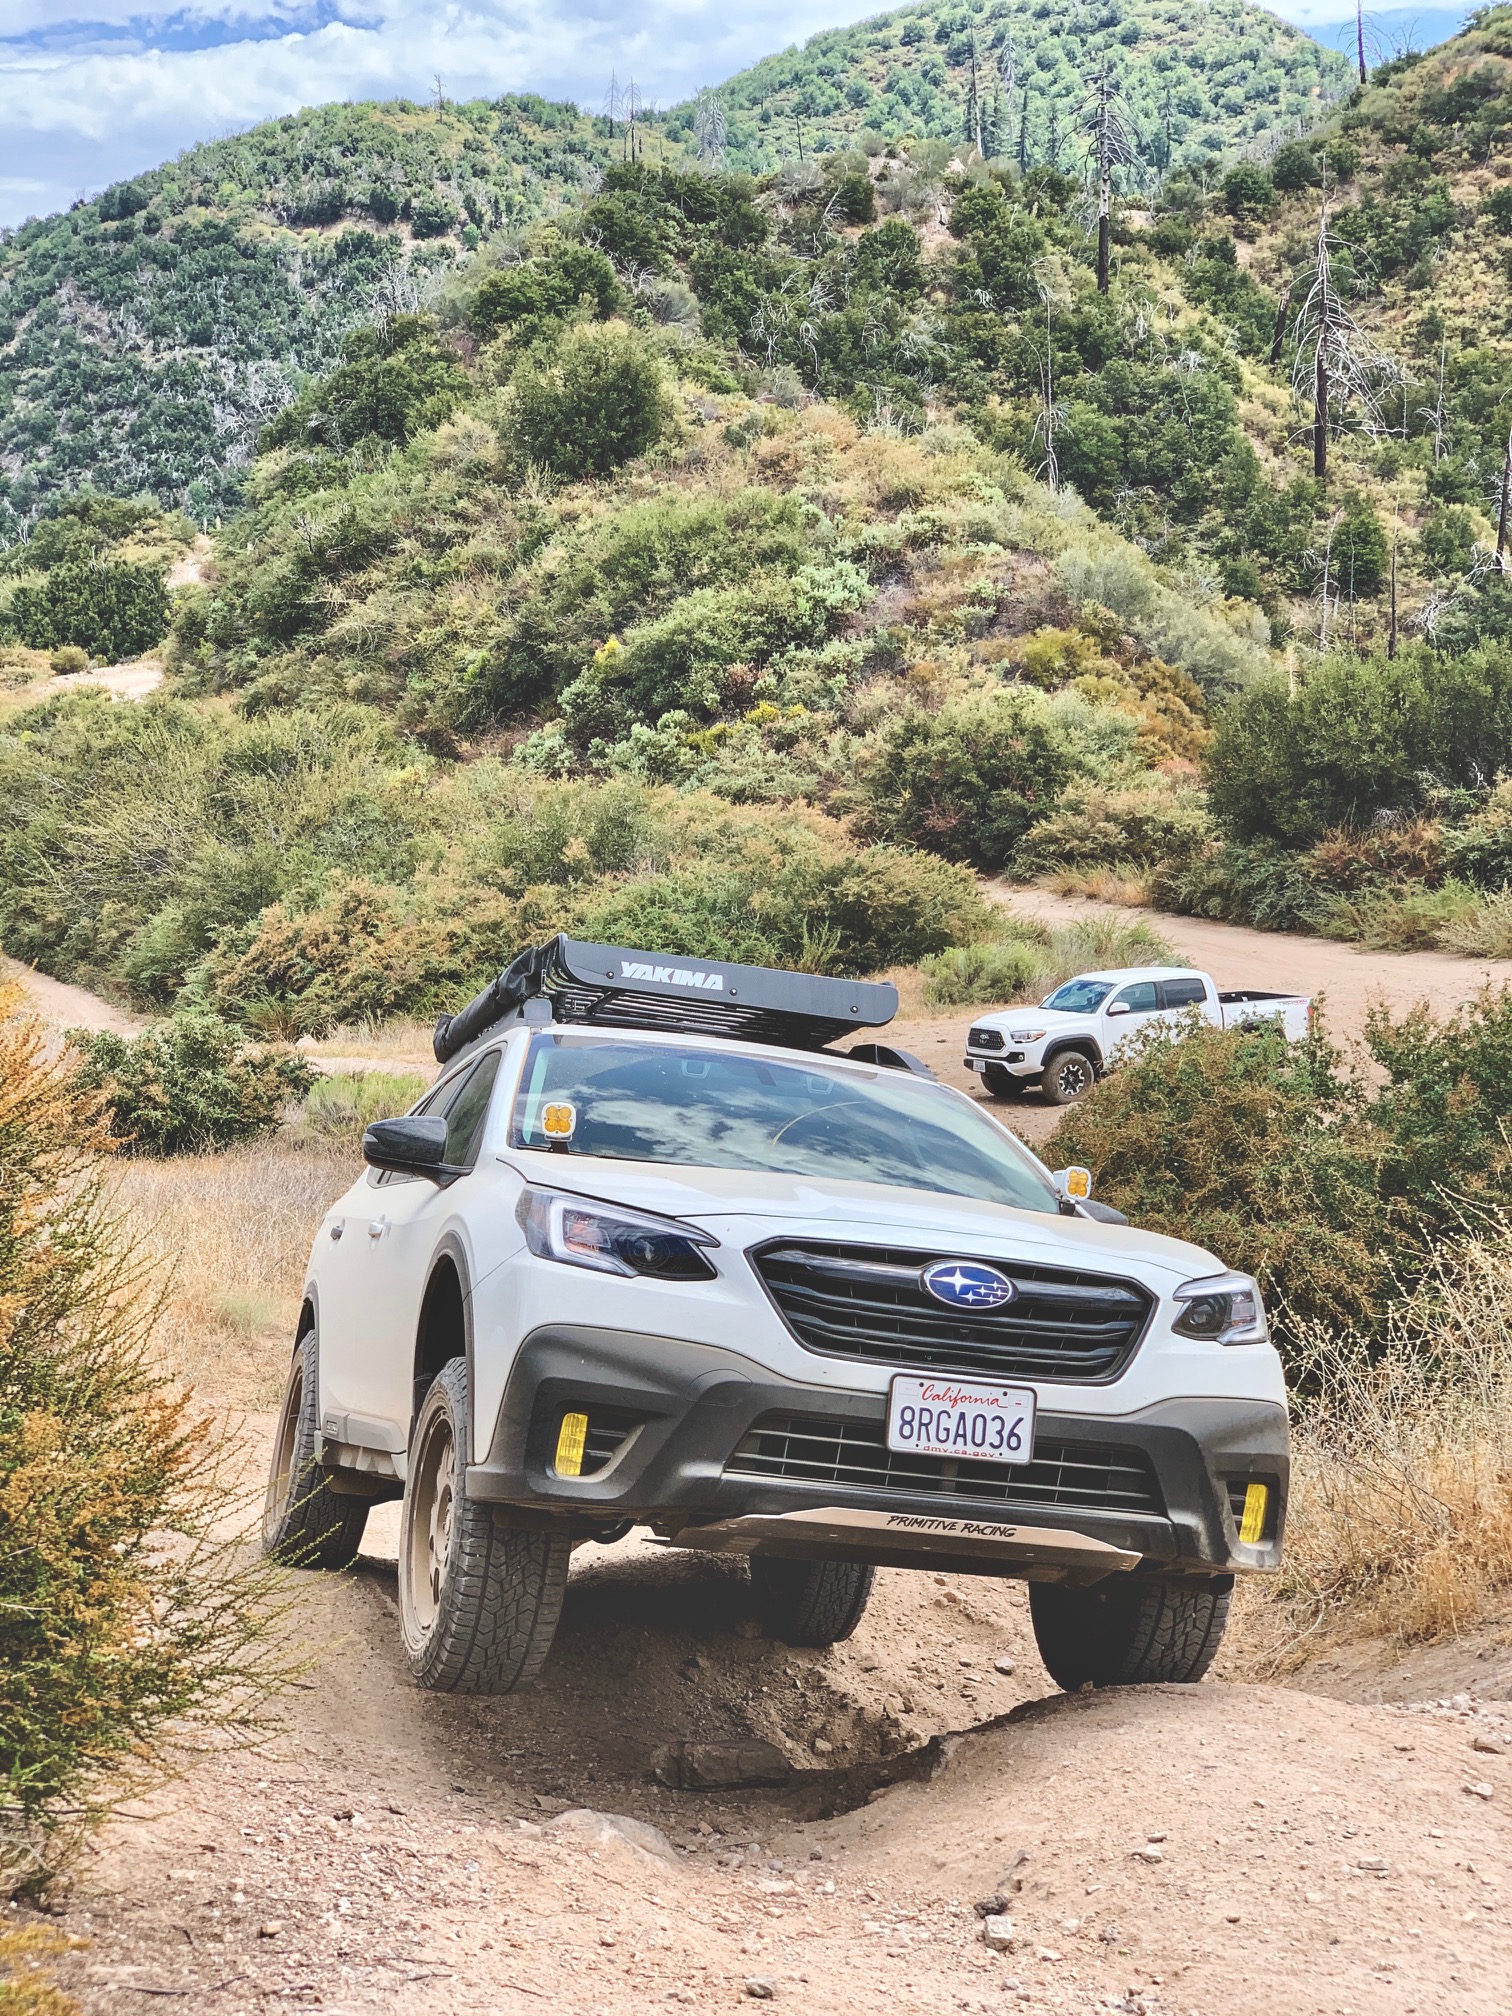
- Primitive Racing Skid Plate
- Primitive Racing CVT Skid Plate
- Primitive Racing Rear Diff Skid Plate
- Spider Roof Rack
- LP Aventure Hood Light Brackets
- Baja Designs Squadron Sport Ditch Lights
- Cali Raised 42″ Light Bar
- Outer Tents Destin Rooftop Tent
- Outer tents 6.5 ft Awning
- Outer Tents Destin Rooftop Tent
- RNO Fabrications Side Mount Kit for the Rotopax
- iDrive Throttle Controller

How long have you owned the Outback? Is this the first Subaru you've owned?
Concerns with lifting a brand new Subaru
I was more concerned about cosmetic damage to the car more than voiding warranties. From the start, I accepted the fact that I’ll be paying out of pocket for parts that might get damaged from taking it off road. Things like the end links, struts, control arms, all those parts that we can easily replace. Things like the transmission, ac, fuel systems and engine I’m pretty confident in and if something does go wrong, I’ll be able to get it fixed under warranty. I just try to be as careful as possible!
Parts used for lifting the Subaru
ReadyLift lift kit quality and customer service experience
They definitely are affordable and well built! Full disclosure, I did have an end link bracket break on me, but they immediately sent me a replacement. Since then, I upgraded my front end links to a stronger and adjustable pair from Whiteline. I took it to get installed in a shop. I didn’t have any tools and honestly, just didn’t want to do it.
Additional parts recommended for lifting the Outback
Drivability and handling effects of installing a lift kit and larger tires
Reasons behind lifting the Outback
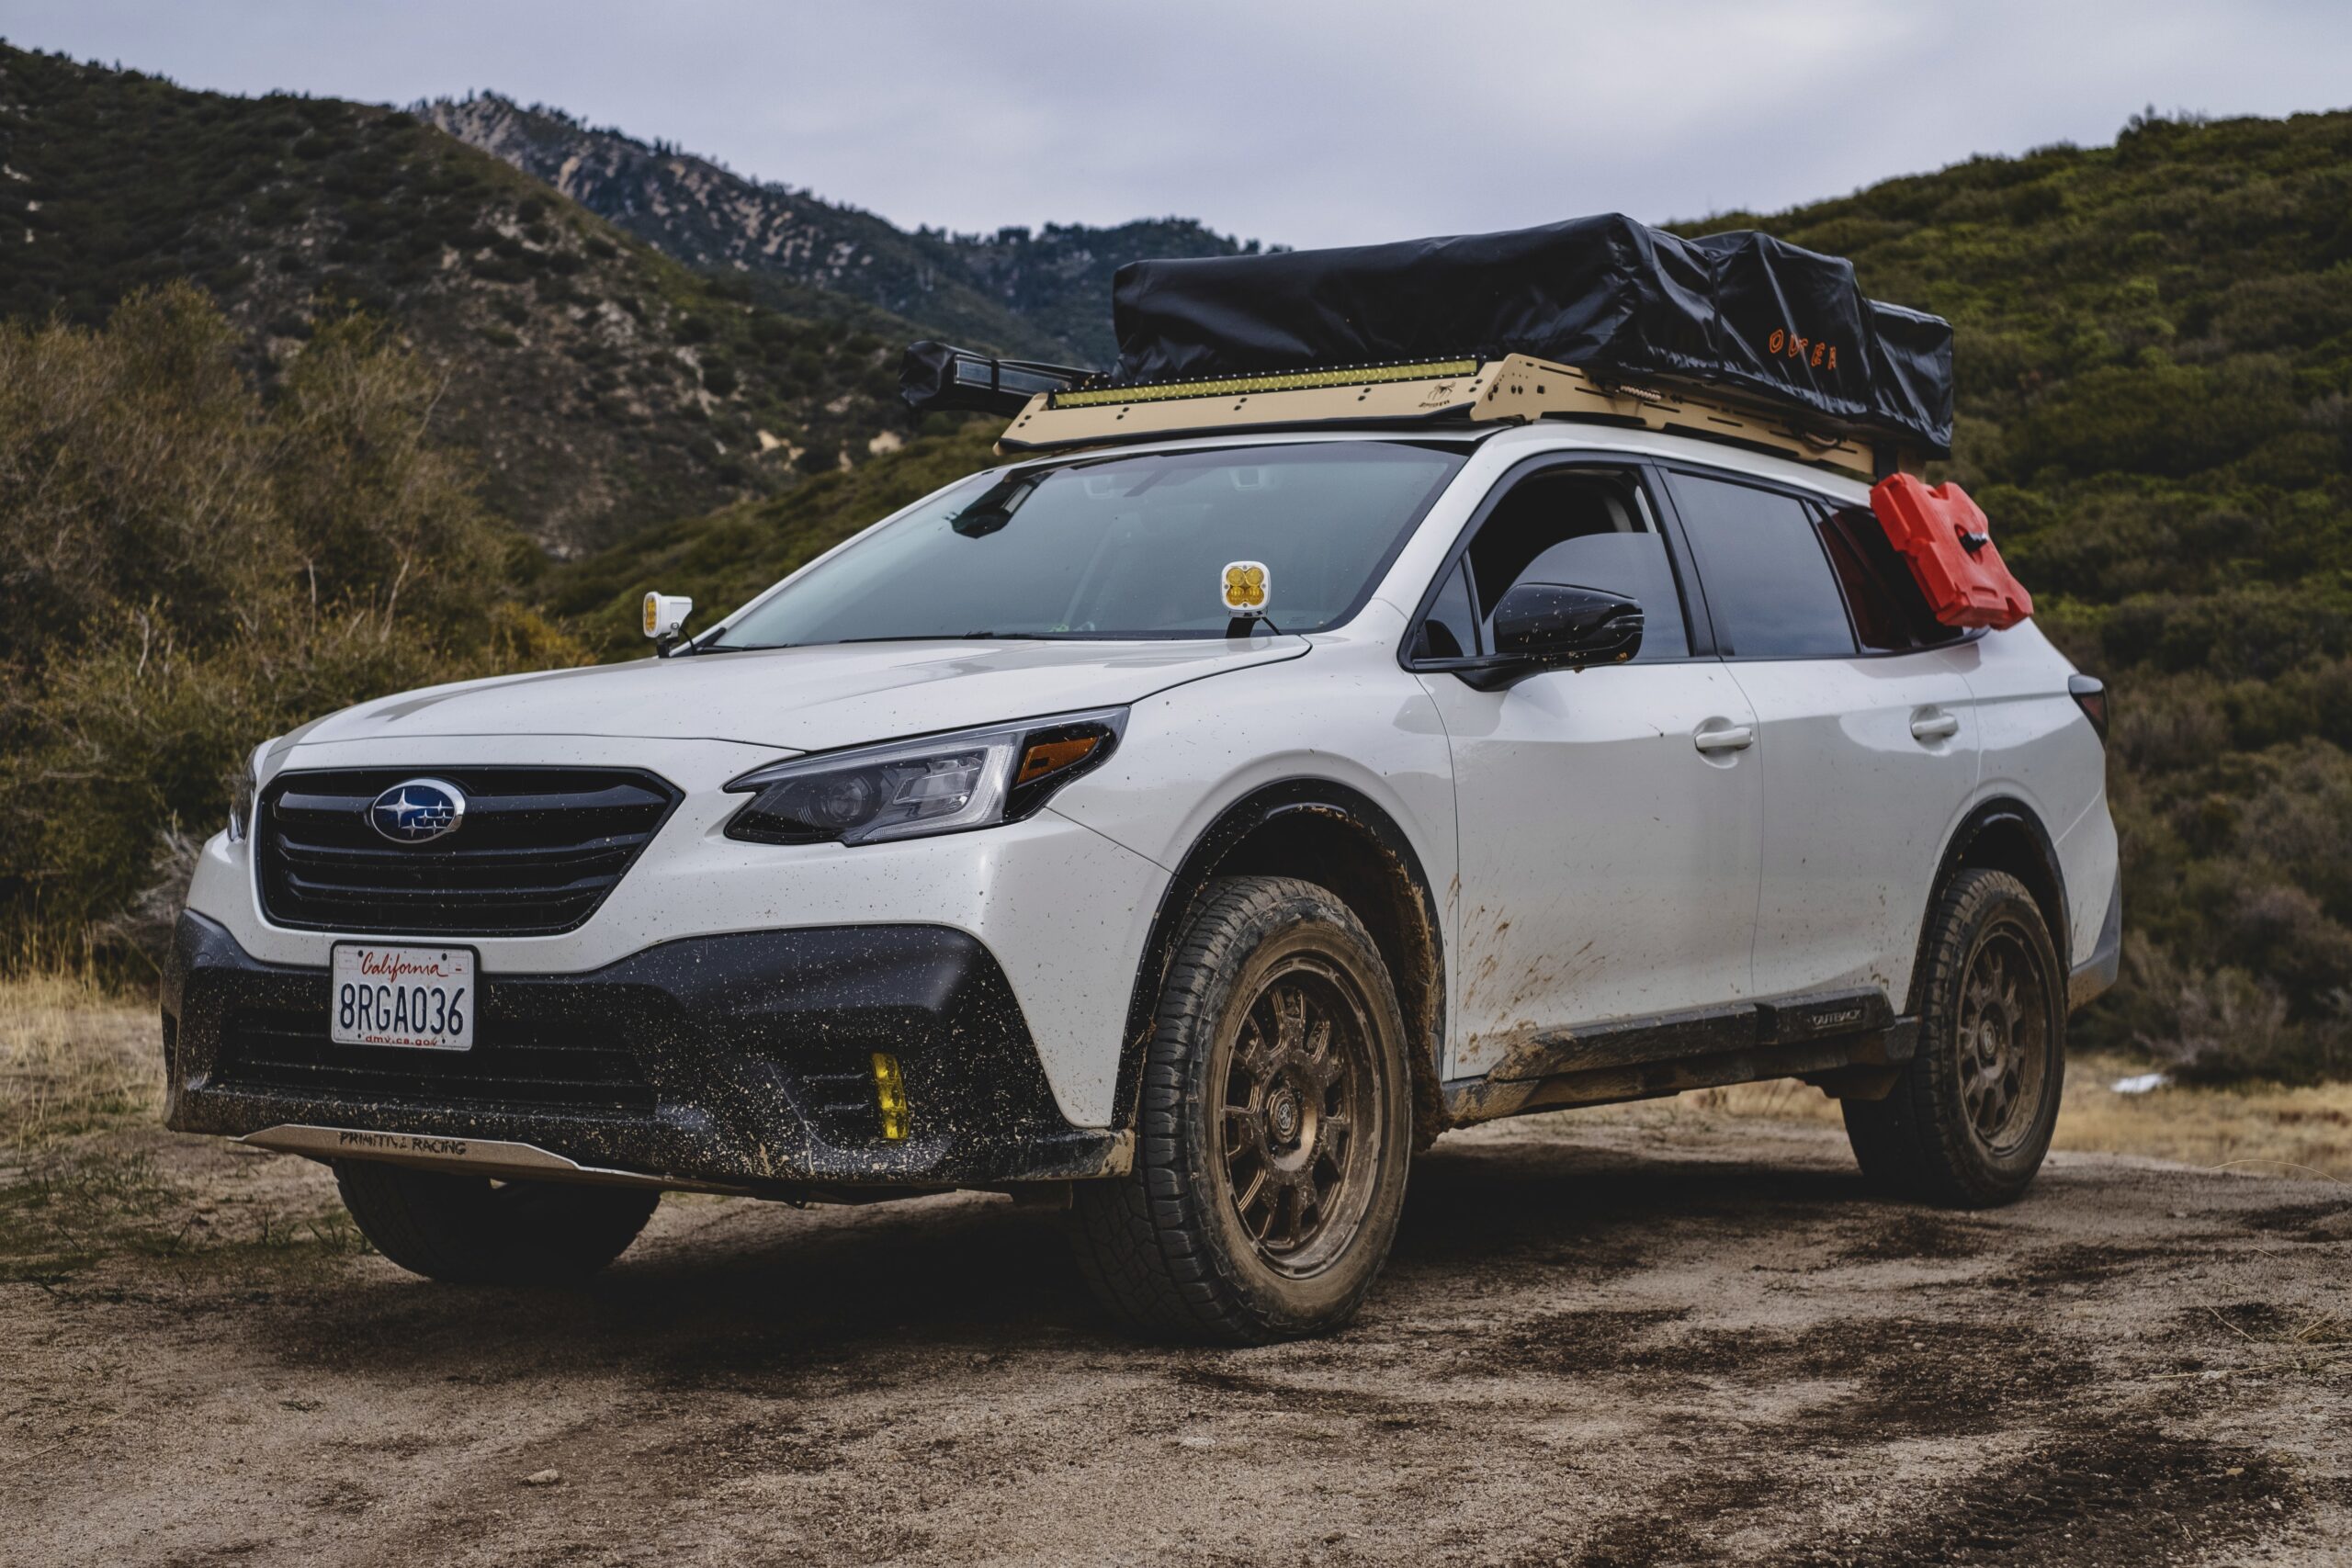
Initially, I didn’t have plans to lift the Outback. Just some All Terrain tires would do the trick, throw on some skid plates for more protection, and we’ll call it a day. Wrong. 2.5″ doesn’t sound like a lot, but it can seriously be the difference between making it through a trail, taking a lot of damage, or having to turn back. When you’re driving out to the middle of nowhere with no cell service or other people around, confidence is key!
Off-Road accessories for functionality
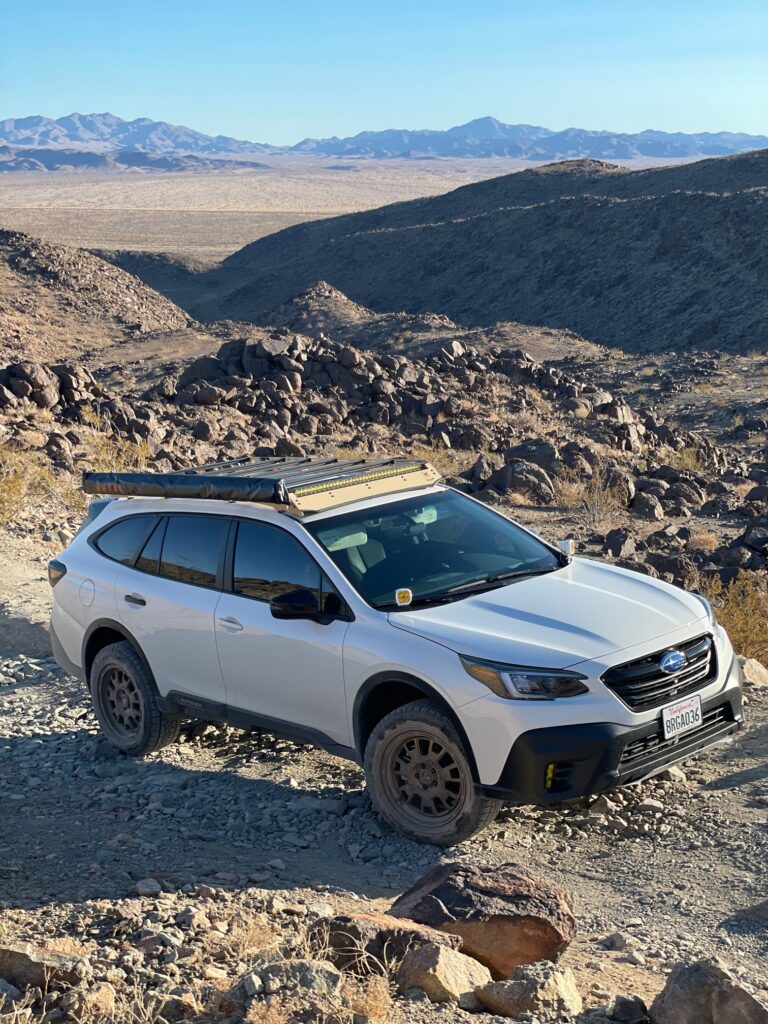
I’m so glad you said functional accessories! I’ll list them off:
Spider Roof Rack: The modular roof rack systems are so dang cool. It just makes things so much easier when it comes to mounting, it’s stronger than the OEM crossbars, gives you more space to work with, and is low profile. Before this, I had the Yakima basket and it’s exactly that; a basket to carry things. I feel like more companies are gearing towards modular rack systems when they make their products, so I knew it would be beneficial to have one. Plus, it looks freakin’ awesome.
Cali Raised 42″ Light Bar: Need. more. light. This helps out tremendously with lighting the road in front of you on the trails. The ditch lights and headlights alone just weren’t cutting it for me.
Outer Tents Destin Rooftop Tent: Camping game changer for me and my wife. 100% recommend if you can get your hands on one. We just got tired of flattening the ground, folding up the dirty tent footprint, and sleeping on pads. The floor was never level enough to sleep on, just really killing our sleep quality. I found it way easier to level out the car with the tent on top. It’s a solid, flat surface with a mattress pad so it’s like a home away from home for us!
Outer tents Awning: I love me some shade
RNO Fabrications Side Mount Kit for the Rotopax: People have really been blowing me up about this thing! It’s a great solution for storing the Rotopax. The tent takes up 90% of the rack, so having somewhere to mount it came in clutch
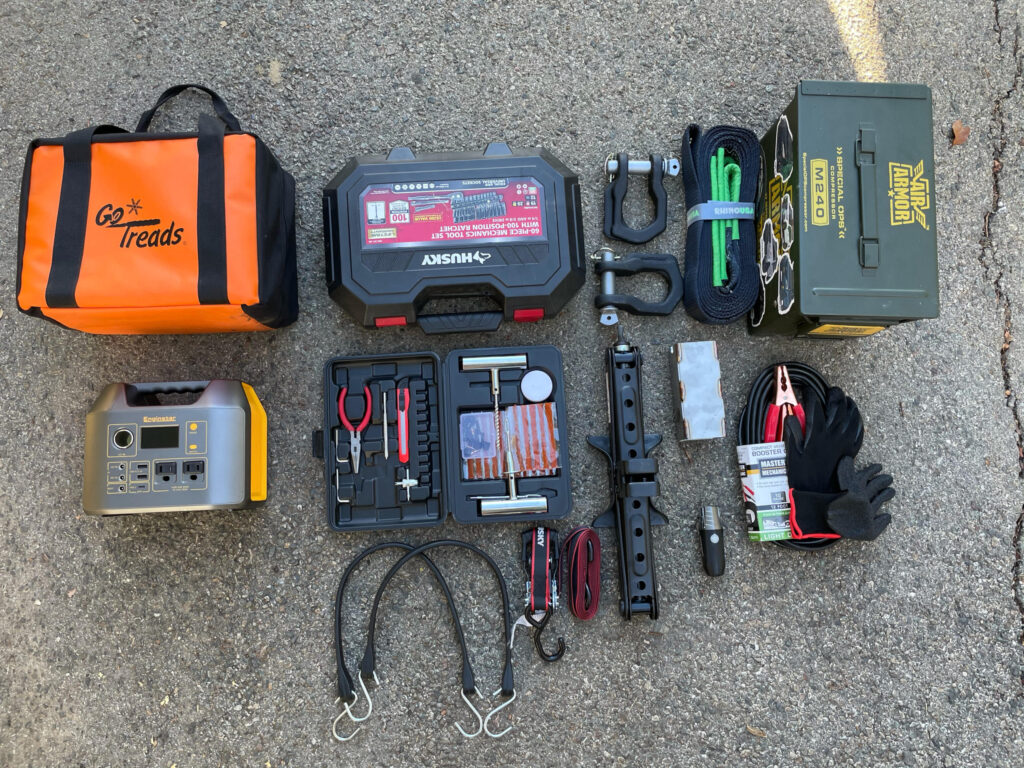
Trail safety checklist
I’m usually trailing solo, so I can’t really depend on other cars for help. Knowing that you have the tools to get you out of a sticky situation definitely gives you more confidence out there. Also, knowing your limitations and driving ability will help keep you from needing recovery. Since I’m alone, I have to pass on a lot of obstacles if there’s even a slight chance of me needing to be pulled out.
- Air compressor, tire repair kit, extra valve stems, etc.
- Stock car jack + the extender from LP Aventure to make up for the lift.
- Shackles and tow straps
- Traction boards
- Wrench set
- Flashlight
- Portable Battery
- NOCO Boost battery jumper
- Full Sized Spare – Awesome thing about the ONYX XT is that it comes with a full sized spare so you can fit a 5th wheel in there and not have to carry it on the roof or the hitch. If you have bigger tires, you’ll have to deflate it pretty low, so make sure you have a compressor handy too!
Favorite off-road modification
I have the CVT and Read Diff guards from Primitive Racing! Those are the parts that scare me most when trailing. Just spend the extra money and get the full set so you know you’re covered!
If you found this article helpful, please check out Jay’s Instagram and show some support with a follow!
Follow
Check out the build on Instagram @outn_back

