I recently spoke with Patrick Anderson over at Anderson Design & Fabrication about their blog post regarding camber issues. They regularly field calls from customers and people looking for help sorting out lift kit installs. So much so that he posted a list of quick fixes on the ADF blog page. He shares seven common things to check if the camber is out of spec.
I wanted to give some additional input on the topic and share some personal experience with these problems. Each point is provided by Patrick and you can find his article on their site.
Let’s jump in!
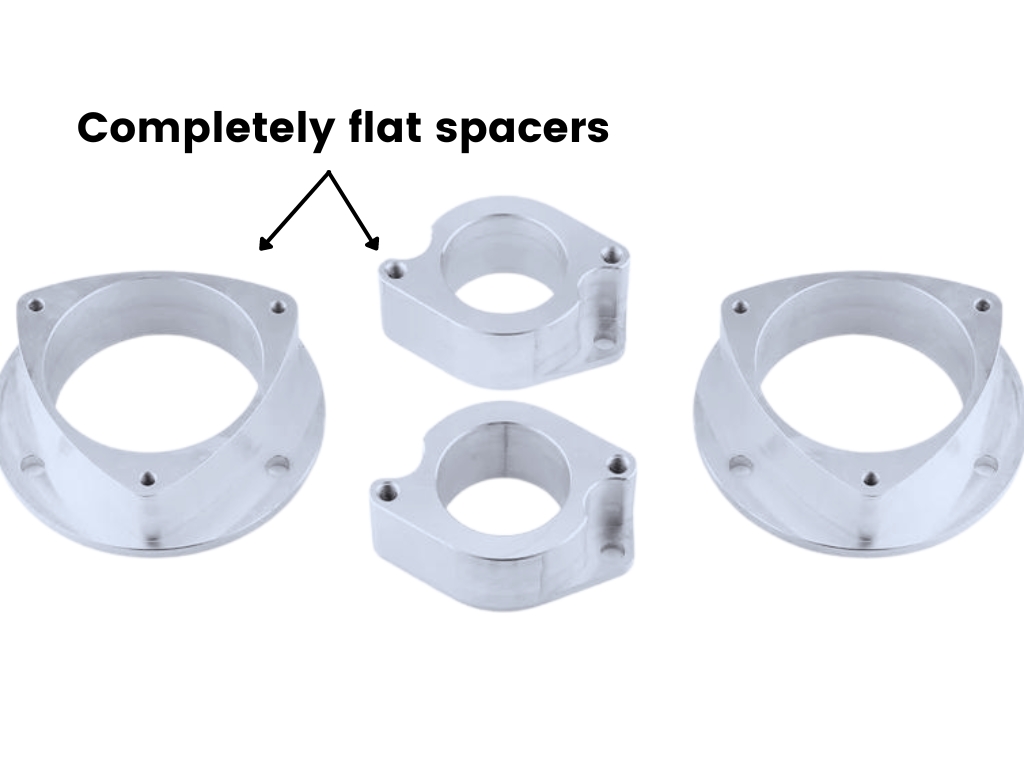
1. You bought a cheap lift kit off of eBay that doesn't have any camber or caster offsets built into the spacers.
When selecting a lift kit for your car, it’s wise to invest in a quality product that includes camber correction. Cheap kits from unreliable sources, such as eBay, may lack proper design features.
It’s very difficult to achieve proper alignment with these kits even with additional parts. When shopping for your lift kit, purchase something from a reputable brand that includes ALL the necessary components for lifting. I prefer to use kits that are from companies based in the USA that answer my questions prior to purchase.
Below is a visual representation of the differences in kits that have alignment correction features built in versus those that don’t. You’ll notice that the aluminum spacers don’t have any offset between the top and bottom. They are essentially straight up and down which doesn’t help the suspension sit correctly.
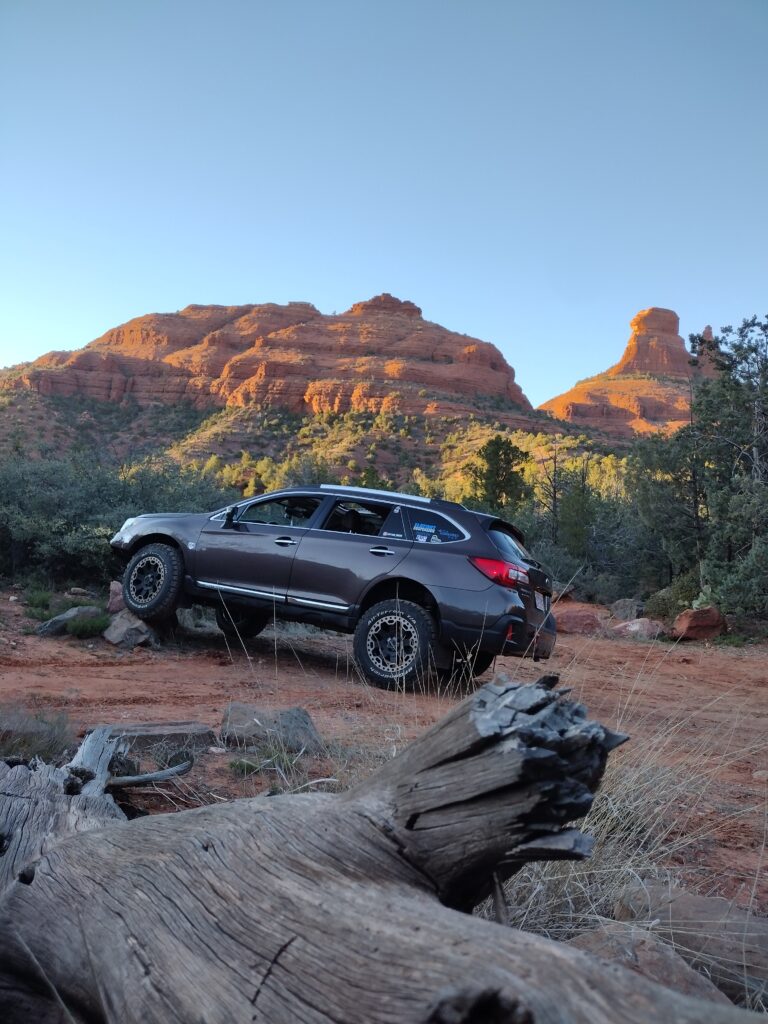
If you’re not sure which lift kits you should consider, check out our roundup of the Best Subaru Lift Kits to get an idea of which is best for you.
2. Suspension hasn't settled down after installing the lift kit.
After installing a lift kit on your Subie, the suspension may take some time to settle. After having been lifted in the air during install, the tires become “pinned” in a sense and need to be moved back and forth to return to their natural position. I typically drive my car around the block a few times to help get everything settled correctly before worrying.
Springs and bushings may also need to settle once the car is back on its own weight. This is especially noticeable if new struts, springs, or other suspension components were installed on the vehicle. A short drive will typically remedy this.
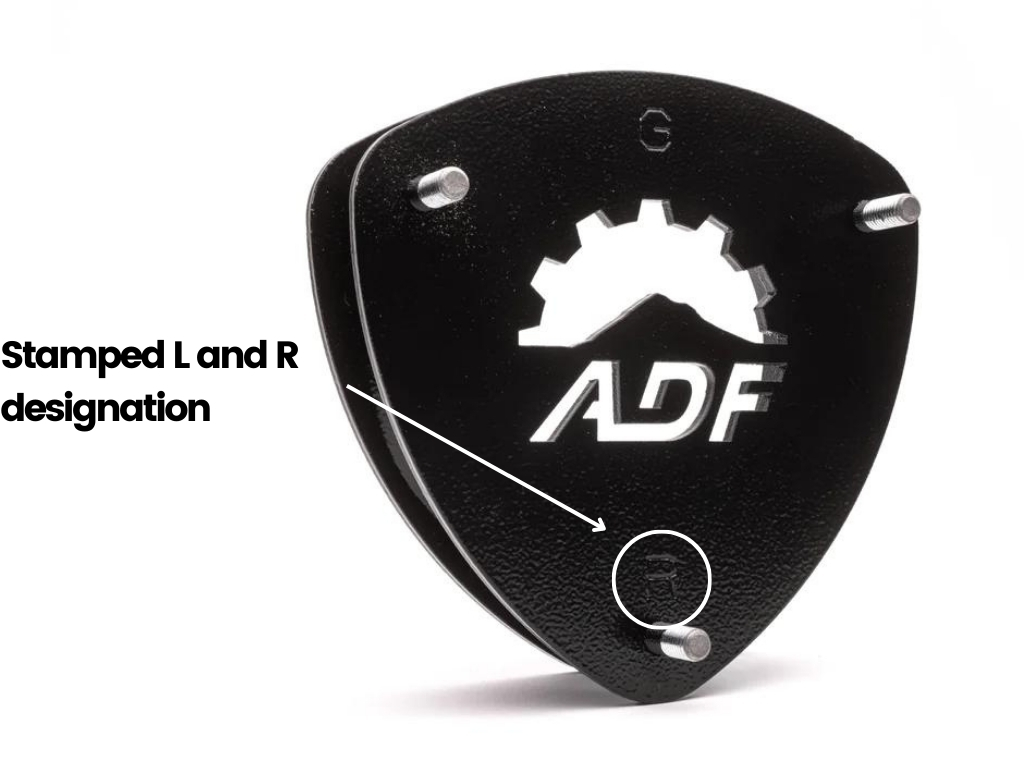
3. The orientation of the strut spacers may be incorrect.
According to Patrick, it’s not uncommon for the strut spacers to be placed on the wrong side of the vehicle. If the orientation is not correct, the built-in angles will be backwards and throw off your alignment significantly.
When using an ADF lift, “the “L” and “R” marks on the strut spacer should be located on the forward-facing studs in the vehicle; “L” is for the driver’s side, and “R” is for the passenger’s side” Patrick says. If you’re using a lift from a different brand, check with the manufacturer to determine which spacer should be on the driver/passenger side.
4. An alignment is necessary upon installing the lift kit.
Regardless of vehicle type, a proper alignment is a critical step after installing a lift kit. Misalignment can affect tire wear, handling, and overall vehicle performance.
ADF recommends an alignment after lift kit installation. If you’re experiencing issues with handling or can see an obvious camber problem but have not taken the car in for an alignment, that should be the first step to getting the car back to factory handling. Do not install suspension modifications without getting a professional alignment after.
5. If the alignment shop states they can't align it, go back to step one.
If you have taken the car in for an alignment but they cannot get it within spec, revisit your lift kit choice. Does it have the proper camber and caster correction built in? Does it contain all the complementary parts (multilink spacers, trailing arm spacers) to lift the vehicle correctly? If these things check out, you may need to consider a different alignment shop.
6. Assess the competence of the alignment shop.
If the alignment shop claims they cannot align the vehicle, determine if it’s a result of their expertise or a component problem. The technicians should be experienced in working with lifted vehicles and have the expertise to address alignment challenges associated with lift kits.
I typically like to take my lifted Subarus to an alignment specialty shop instead of big brand shops that do alignments on the side. There’s nothing wrong with large shops, but I have found the best luck using alignment specialists instead.
It’s also important to get a copy of the alignment sheet. Patrick explains “If the before and after camber adjustments are the same or very minimally different, they most likely didn’t touch the camber bolts and might be attempting to upsell you on unnecessary camber bolts, as you already have them from the factory.” I have run into this issue myself. Shops have told me that I need to purchase camber bolts and then come back. I don’t know if they knew that the car has them from the factory, or if they just didn’t want to mess with it. But either way, it’s crucial to get the spec sheet to get an idea of what was done to the vehicle.
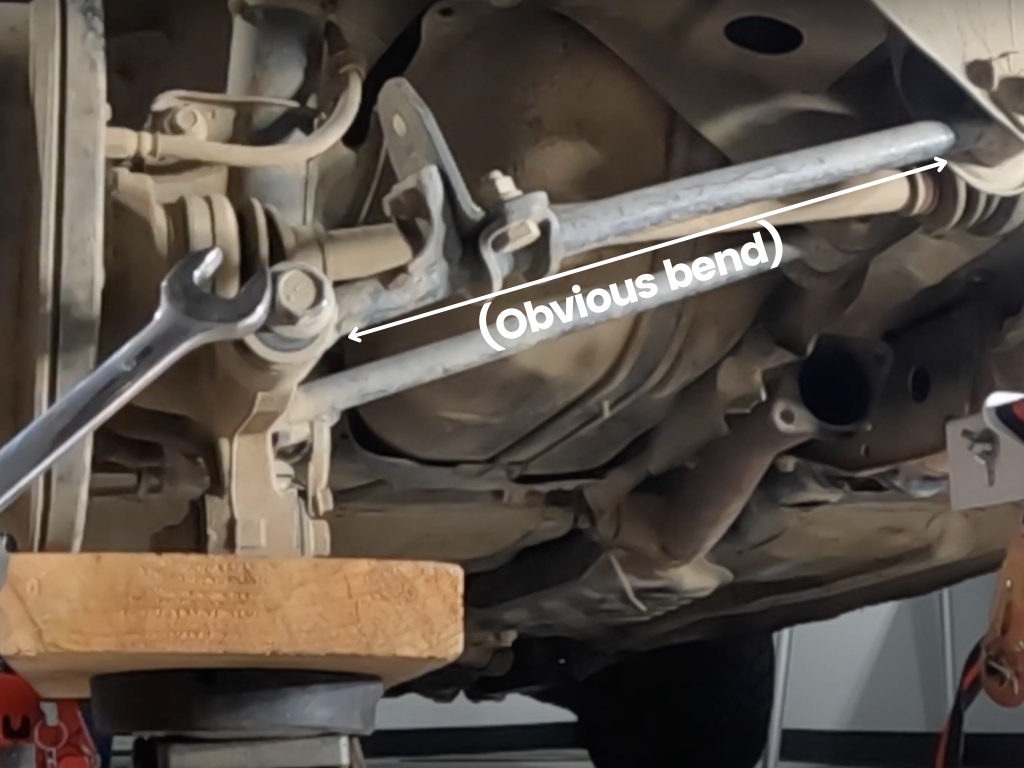
7. Check for damaged suspension components
If the above steps do not resolve the alignment issues, inspect the suspension bushings and other components. Bent parts or worn-out bushings can adversely affect alignment. Replace any damaged or worn bushings and then return for an alignment.
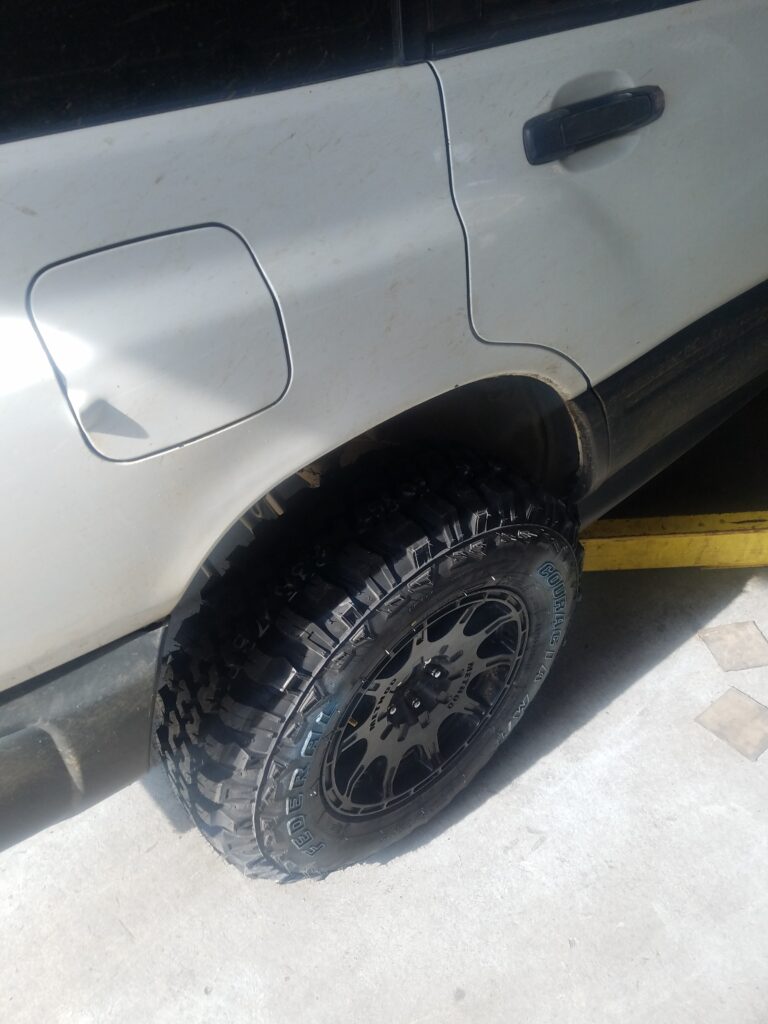
One problem that I’ve run into is a bent lateral link. It wasn’t noticeable during a quick glance under the car, but when I put a straight edge on it I could easily see that it wasn’t straight. It made the alignment almost impossible and I had to replace the lateral link before the car could be properly aligned.
Having a properly aligned lifted Subaru is 100% attainable if we check off all the boxes needed to have a proper build. From the choice of a quality lift kit to ensuring correct strut spacer orientation, each step contributes significantly. Allowing the suspension to settle naturally, promptly scheduling a professional alignment, and scrutinizing the alignment shop’s competence will all help you along the process. Don’t forget to thoroughly examine the alignment sheet for transparency and if issues persist, a closer look at potential worn-out bushings is warranted. As always, if you’re not sure what to do or you get stuck, reach out to a professional for assistance.
If you’d like to visit the Anderson Design & Fabrication website for parts and info, you can find them at https://awdadventure.com/