
Full Review & Tips For Installing A Torq Masters Subaru 5 Bolt R160 TORQ Locker
By Ben Boxer
[wpcode id="8268"]
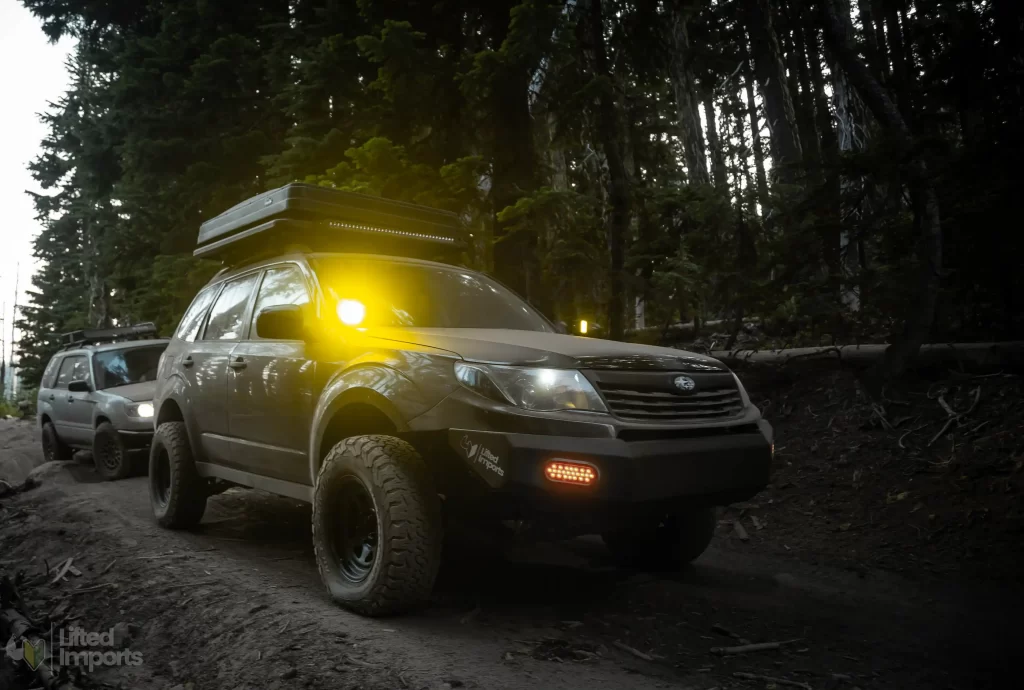
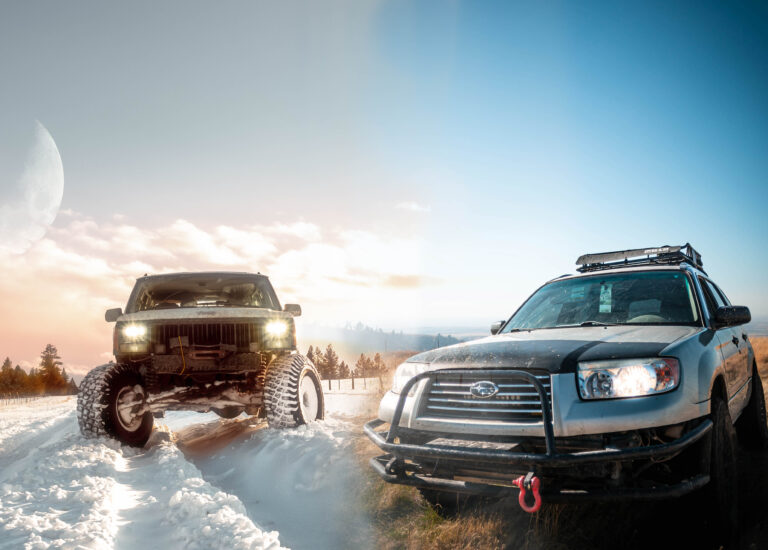
I finally did it. After years of knowing that my Subaru could have more traction but simply putting it off no good reason, I purchased a TORQ Locker from Torq Master Industries. Ever since I purchased a Jeep a few years ago for more “hardcore” trails, I figured I wouldn’t need a locker in my Subaru. But you don’t always know when you’ll need the extra traction that a mechanical locker can deliver. After finding myself helplessly stuck for hours while on what I previously assumed to be a leisurely drive through the forest, I knew it was time to switch to a locked differential. In this article we’ll look at some of the features that make this a great product, we’ll look at the install procedure from a bird’s eye view, and I’ll talk a little bit about my experience daily driving with the TORQ Locker installed.
In this article I’m also going to share some of my thoughts and tidbits of information that I gathered from the owner of Torq Masters Industries. I contacted her knowing that I wanted to share my experience of installing and using this locker with you, the readers. I asked her about some of the most common FAQ’s and about any additional info she may have about the locker. So you’ll find that mixed in with my opinions throughout the article.
Let’s jump in.
November 16th UPDATE: I’ve now put about 1500 miles on the locker and still have zero complaints with the daily drivability. The locker has actually quieted down a bit from initial installation. I’m 100% still satisfied with it!
Table of Contents
Reasons for Choosing the TORQ Locker
None of us are made of money which means we have to be strategic with the limited funds we’ve saved for building our Subaru’s into trail rigs. Finding the most effective mods first and then moving on to less powerful extras is usually how I approach vehicle modification. During the recent process of selecting the next mods for my subie, the TORQ Locker stood out to me as a top choice for several reasons. Let’s take a moment to look at why I decided to invest in this locker and what makes it such a good product.
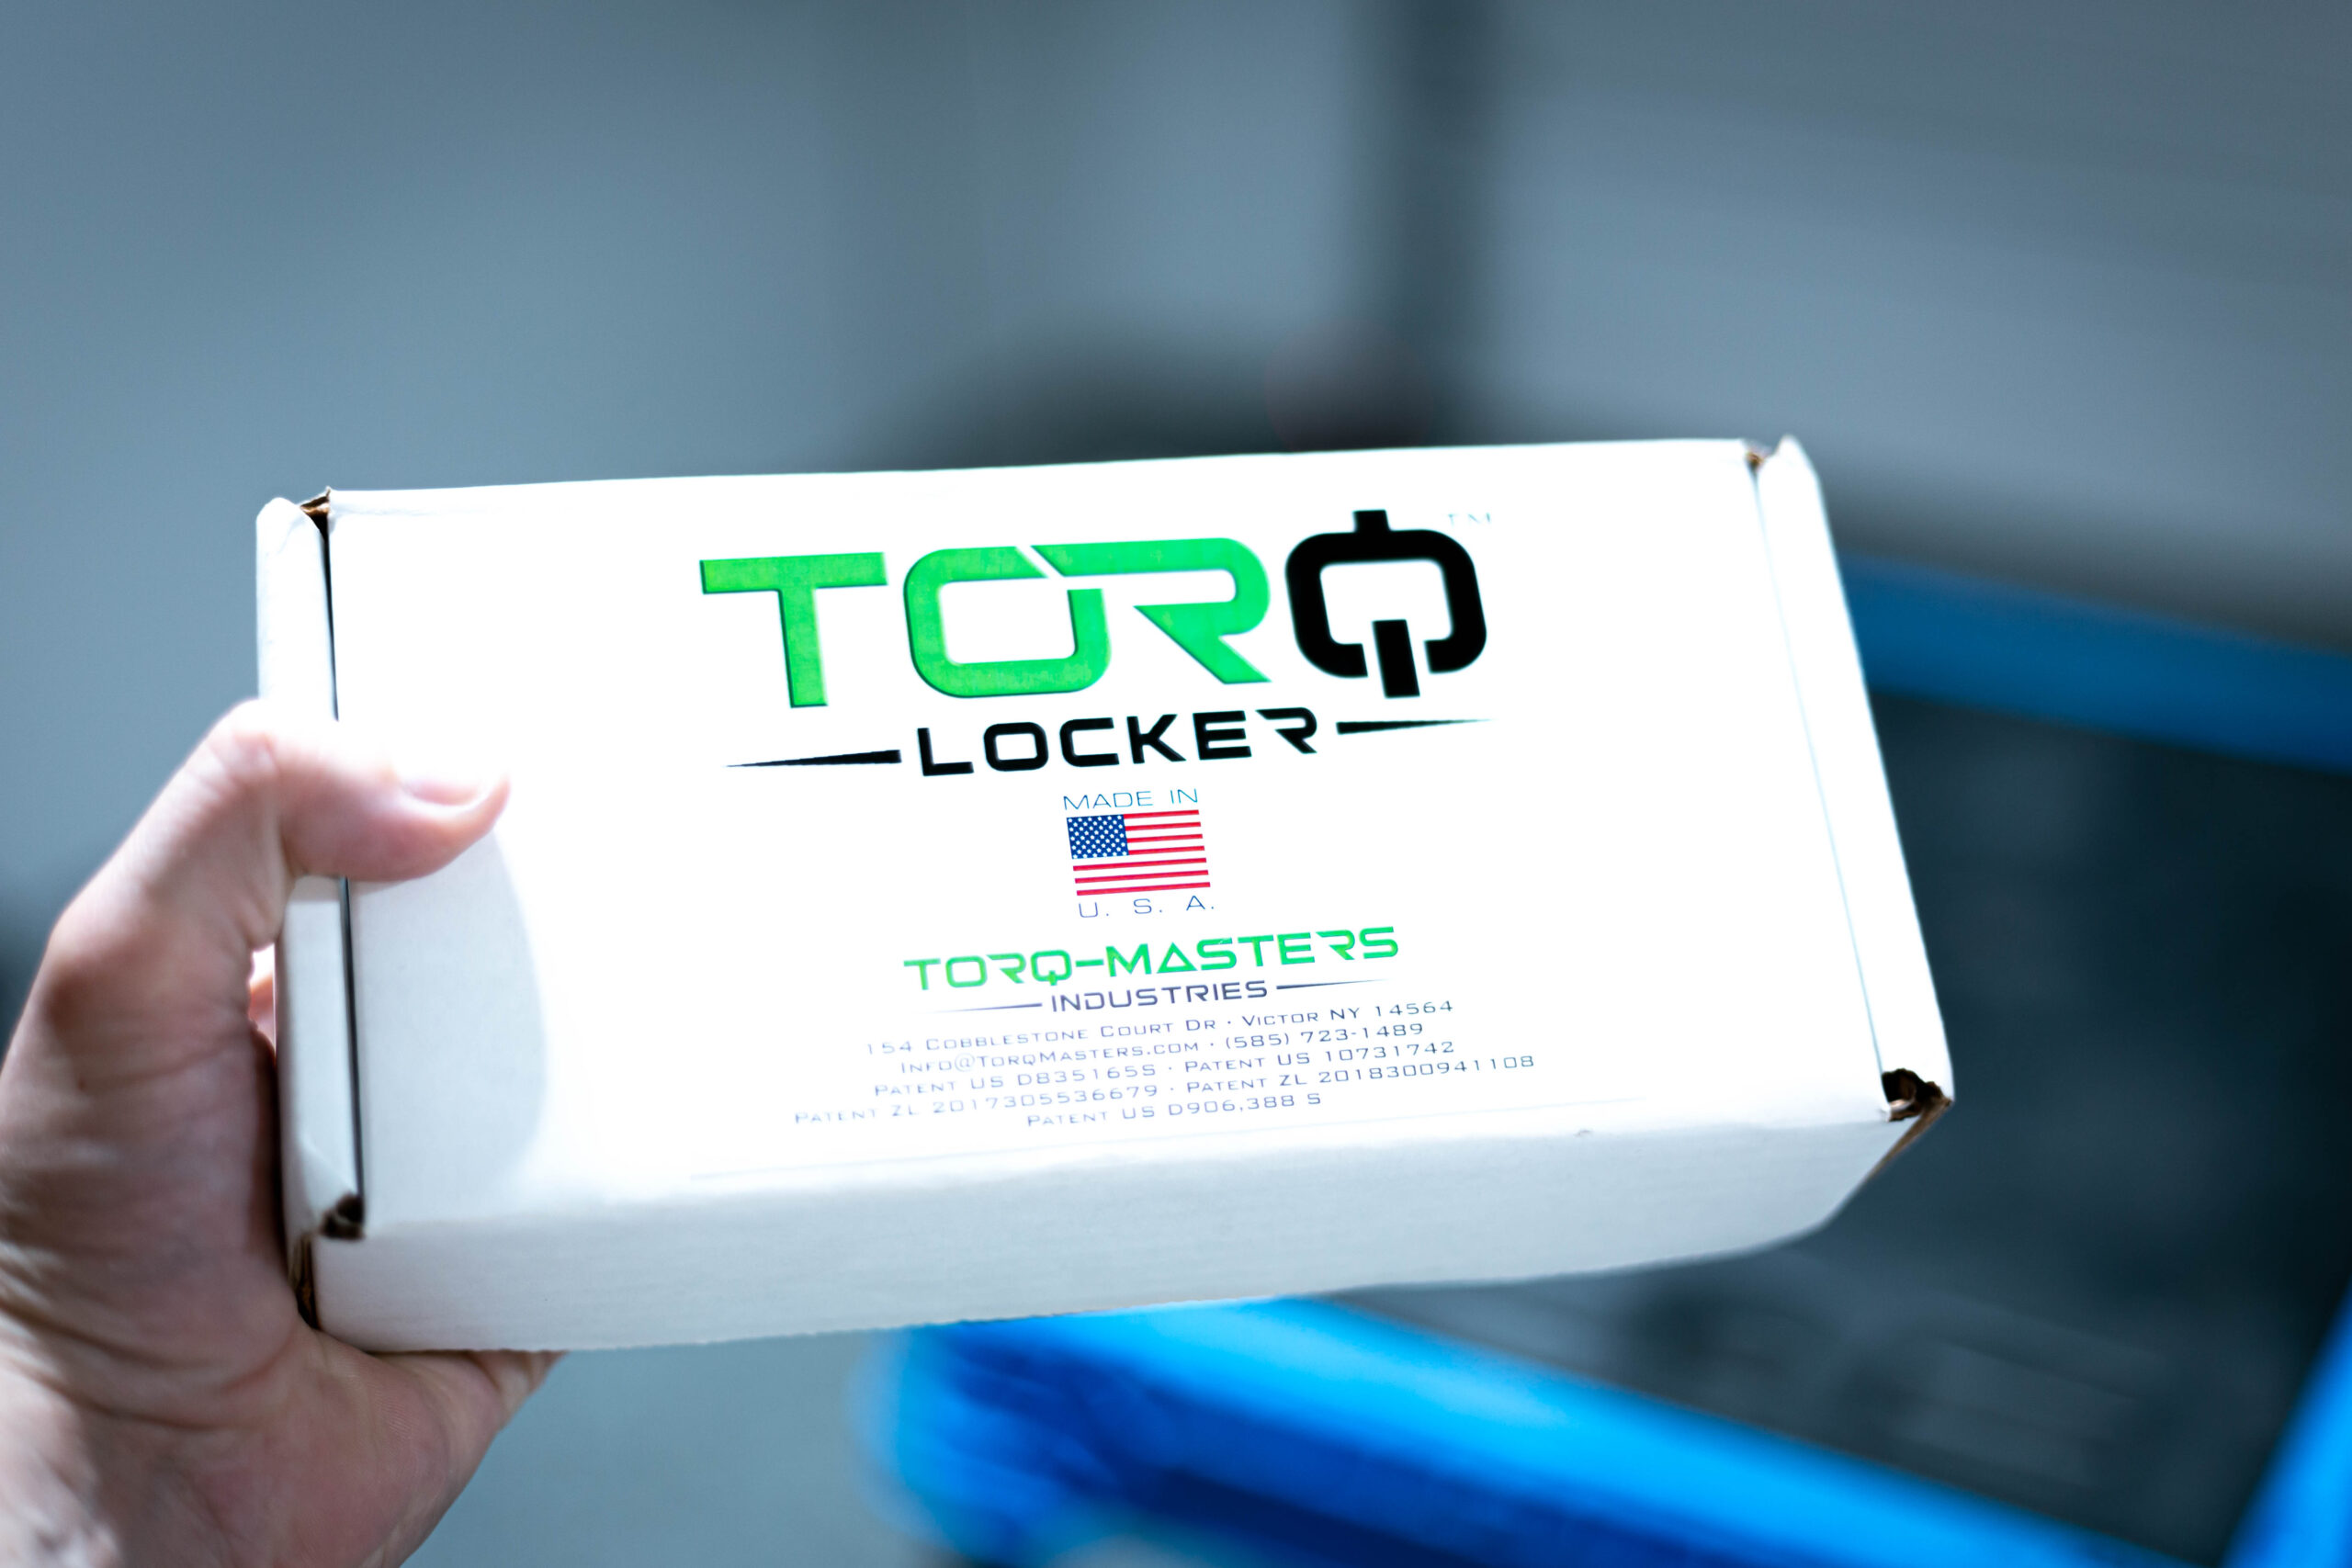
Those who know me personally know that I’m a big proponent of supporting small business and domestic manufacturing. The TORQ Locker is made in the USA, and its reputation is a testament to the brand’s commitment to quality and performance. There are thousands of Subaru owners who take their car on some truly challenging trails using this locker. Here are some standout features of the locker and of Torq Masters as a brand that made me feel good about purchasing their product:
Enhanced Off-Road Capabilities:
The TORQ Locker is designed to unlock the full potential of your Subaru’s AWD system. Whether you’re tackling rocky surfaces, muddy trails, or snow, this locker allows both rear axles to be joined together in rotation when you find yourself in a situation that requires extra traction. With the original open differential in my Forester, the tire with the least resistance (this tire is usually up in the air doing you no good) would always spin while the wheel that was stuck wouldn’t move. This obviously isn’t what you want for off-road use. But the TORQ Locker solves that issue by mechanically binding both axles together in order to provide power to the wheel that needs to pull itself through the mud, snow, or whatever obstacle you’re facing.
Since Subarus have fully independent suspension, it’s common for us to experience “3 wheeling” while trying to navigate uneven terrain. When one or more of the wheels is in the air, it will usually get the majority of power spinning freely while not helping at all. But once that wheel comes down and contacts the ground at full speed, it can potentially damage our axles. By installing this locker, you can run the same trails in a much more controlled manner that reduces the wear and tear to your vehicle.
Easy Installation:
One of the key factors that makes this such a great product is the relatively straightforward installation process. While it’s advisable to have some mechanical know-how, the TORQ Locker can be installed by the weekend mechanic, provided the installation instructions are followed correctly. This process can be completed in relatively short order even by the average person. I did it from start to finish in about 6 hours give or take and I am nothing more than a DIY Subaru enthusiast. This included the time needed for removing the rear differential, replacing worn seals, and then reinstalling the diff into the car. It may take more time or less depending on a person’s unique situation. Things like stuck bolts or limited work space can add time to the job.
One of the other great things about installing this locker is that it will not require any complicated work with the ring or pinion gear. The pinion gear doesn’t need to be touched during the install procedure which means there’s no need to deal with the backlash of the ring gear or pinion preload. The install requires almost no complicated expertise.
Quality Components & Daily Driving Manners:
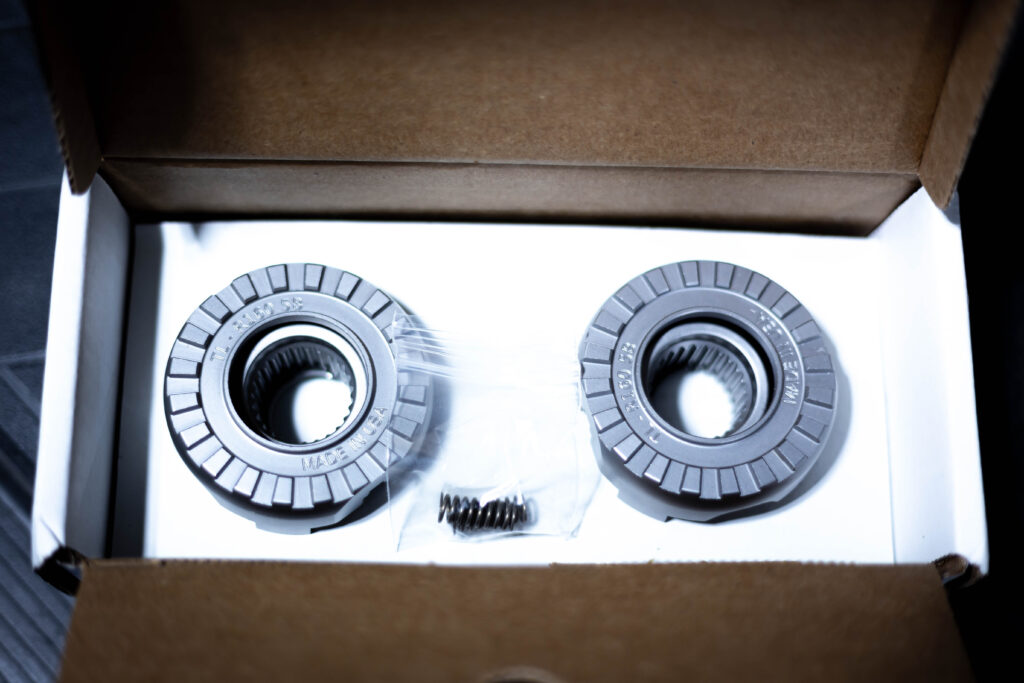
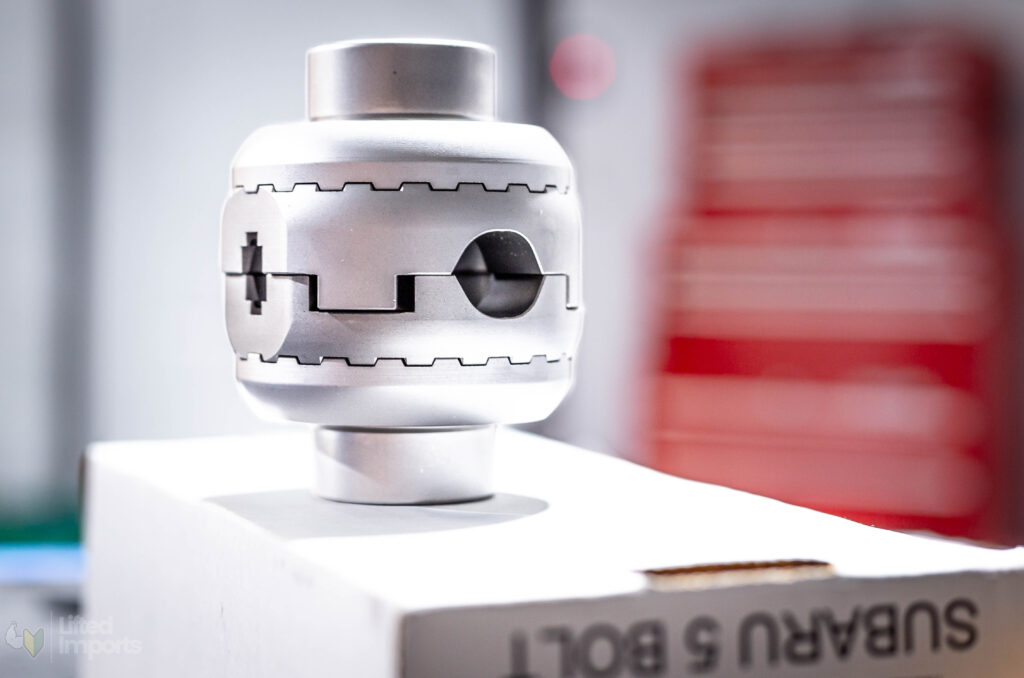
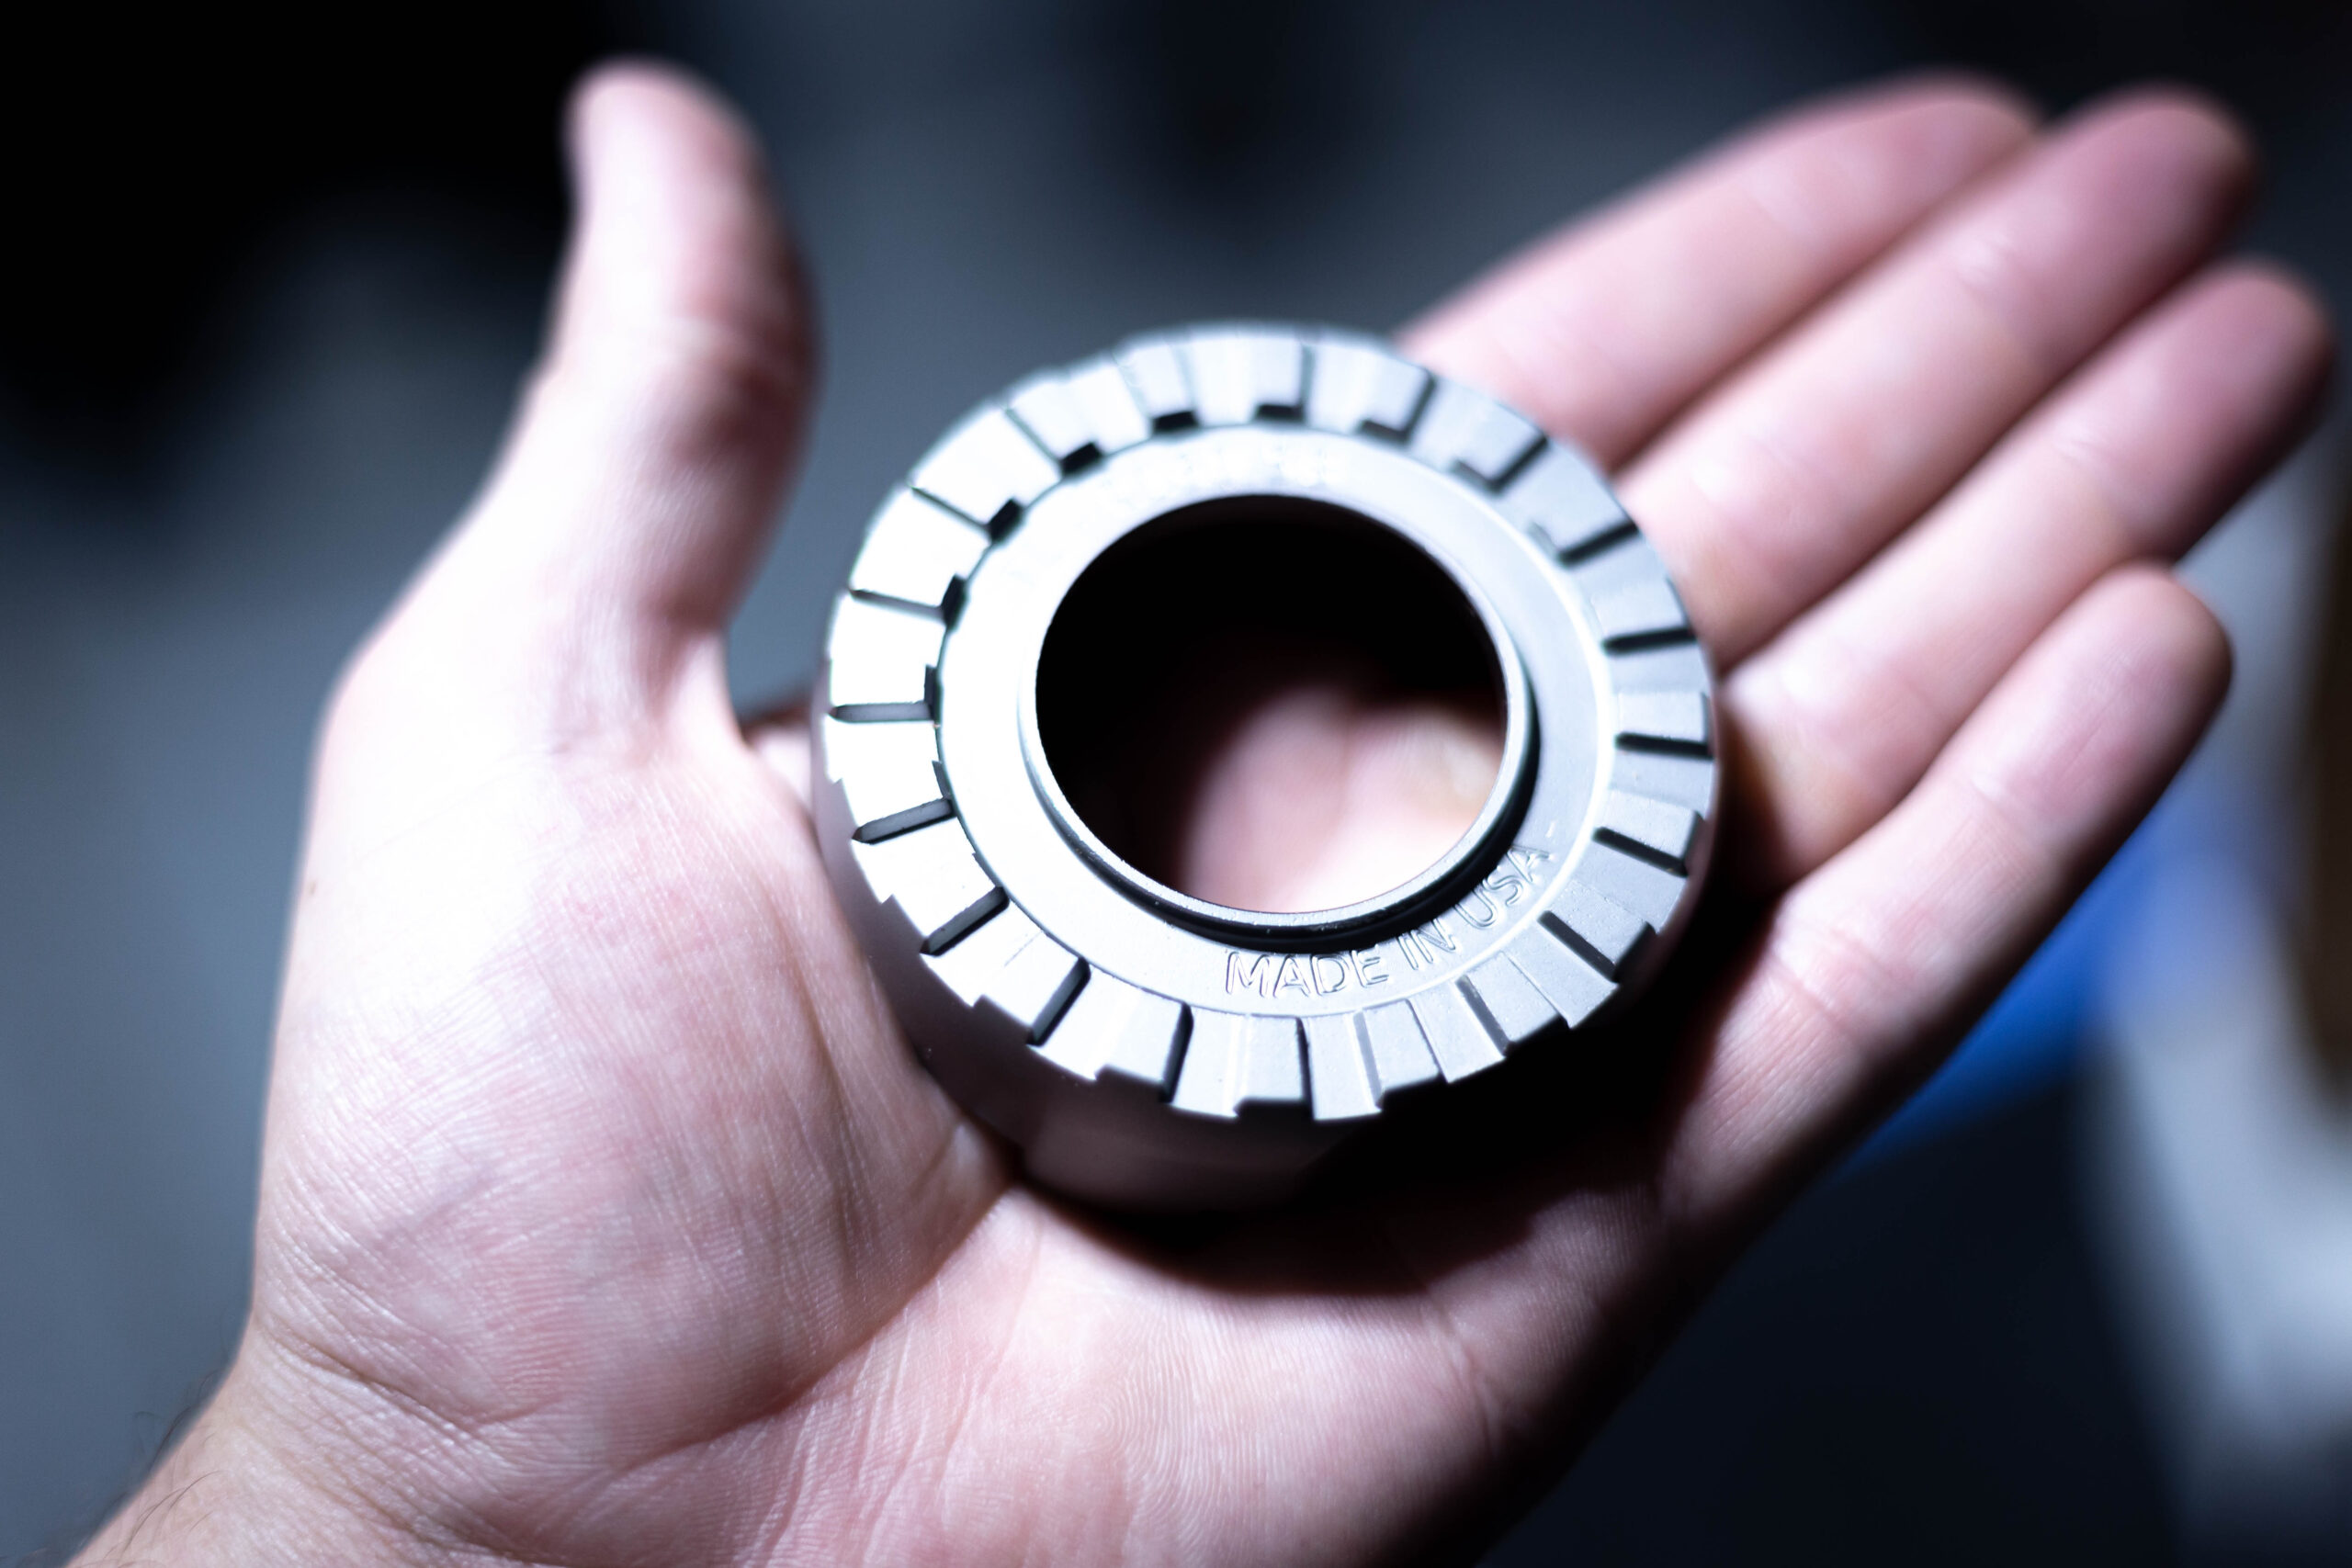
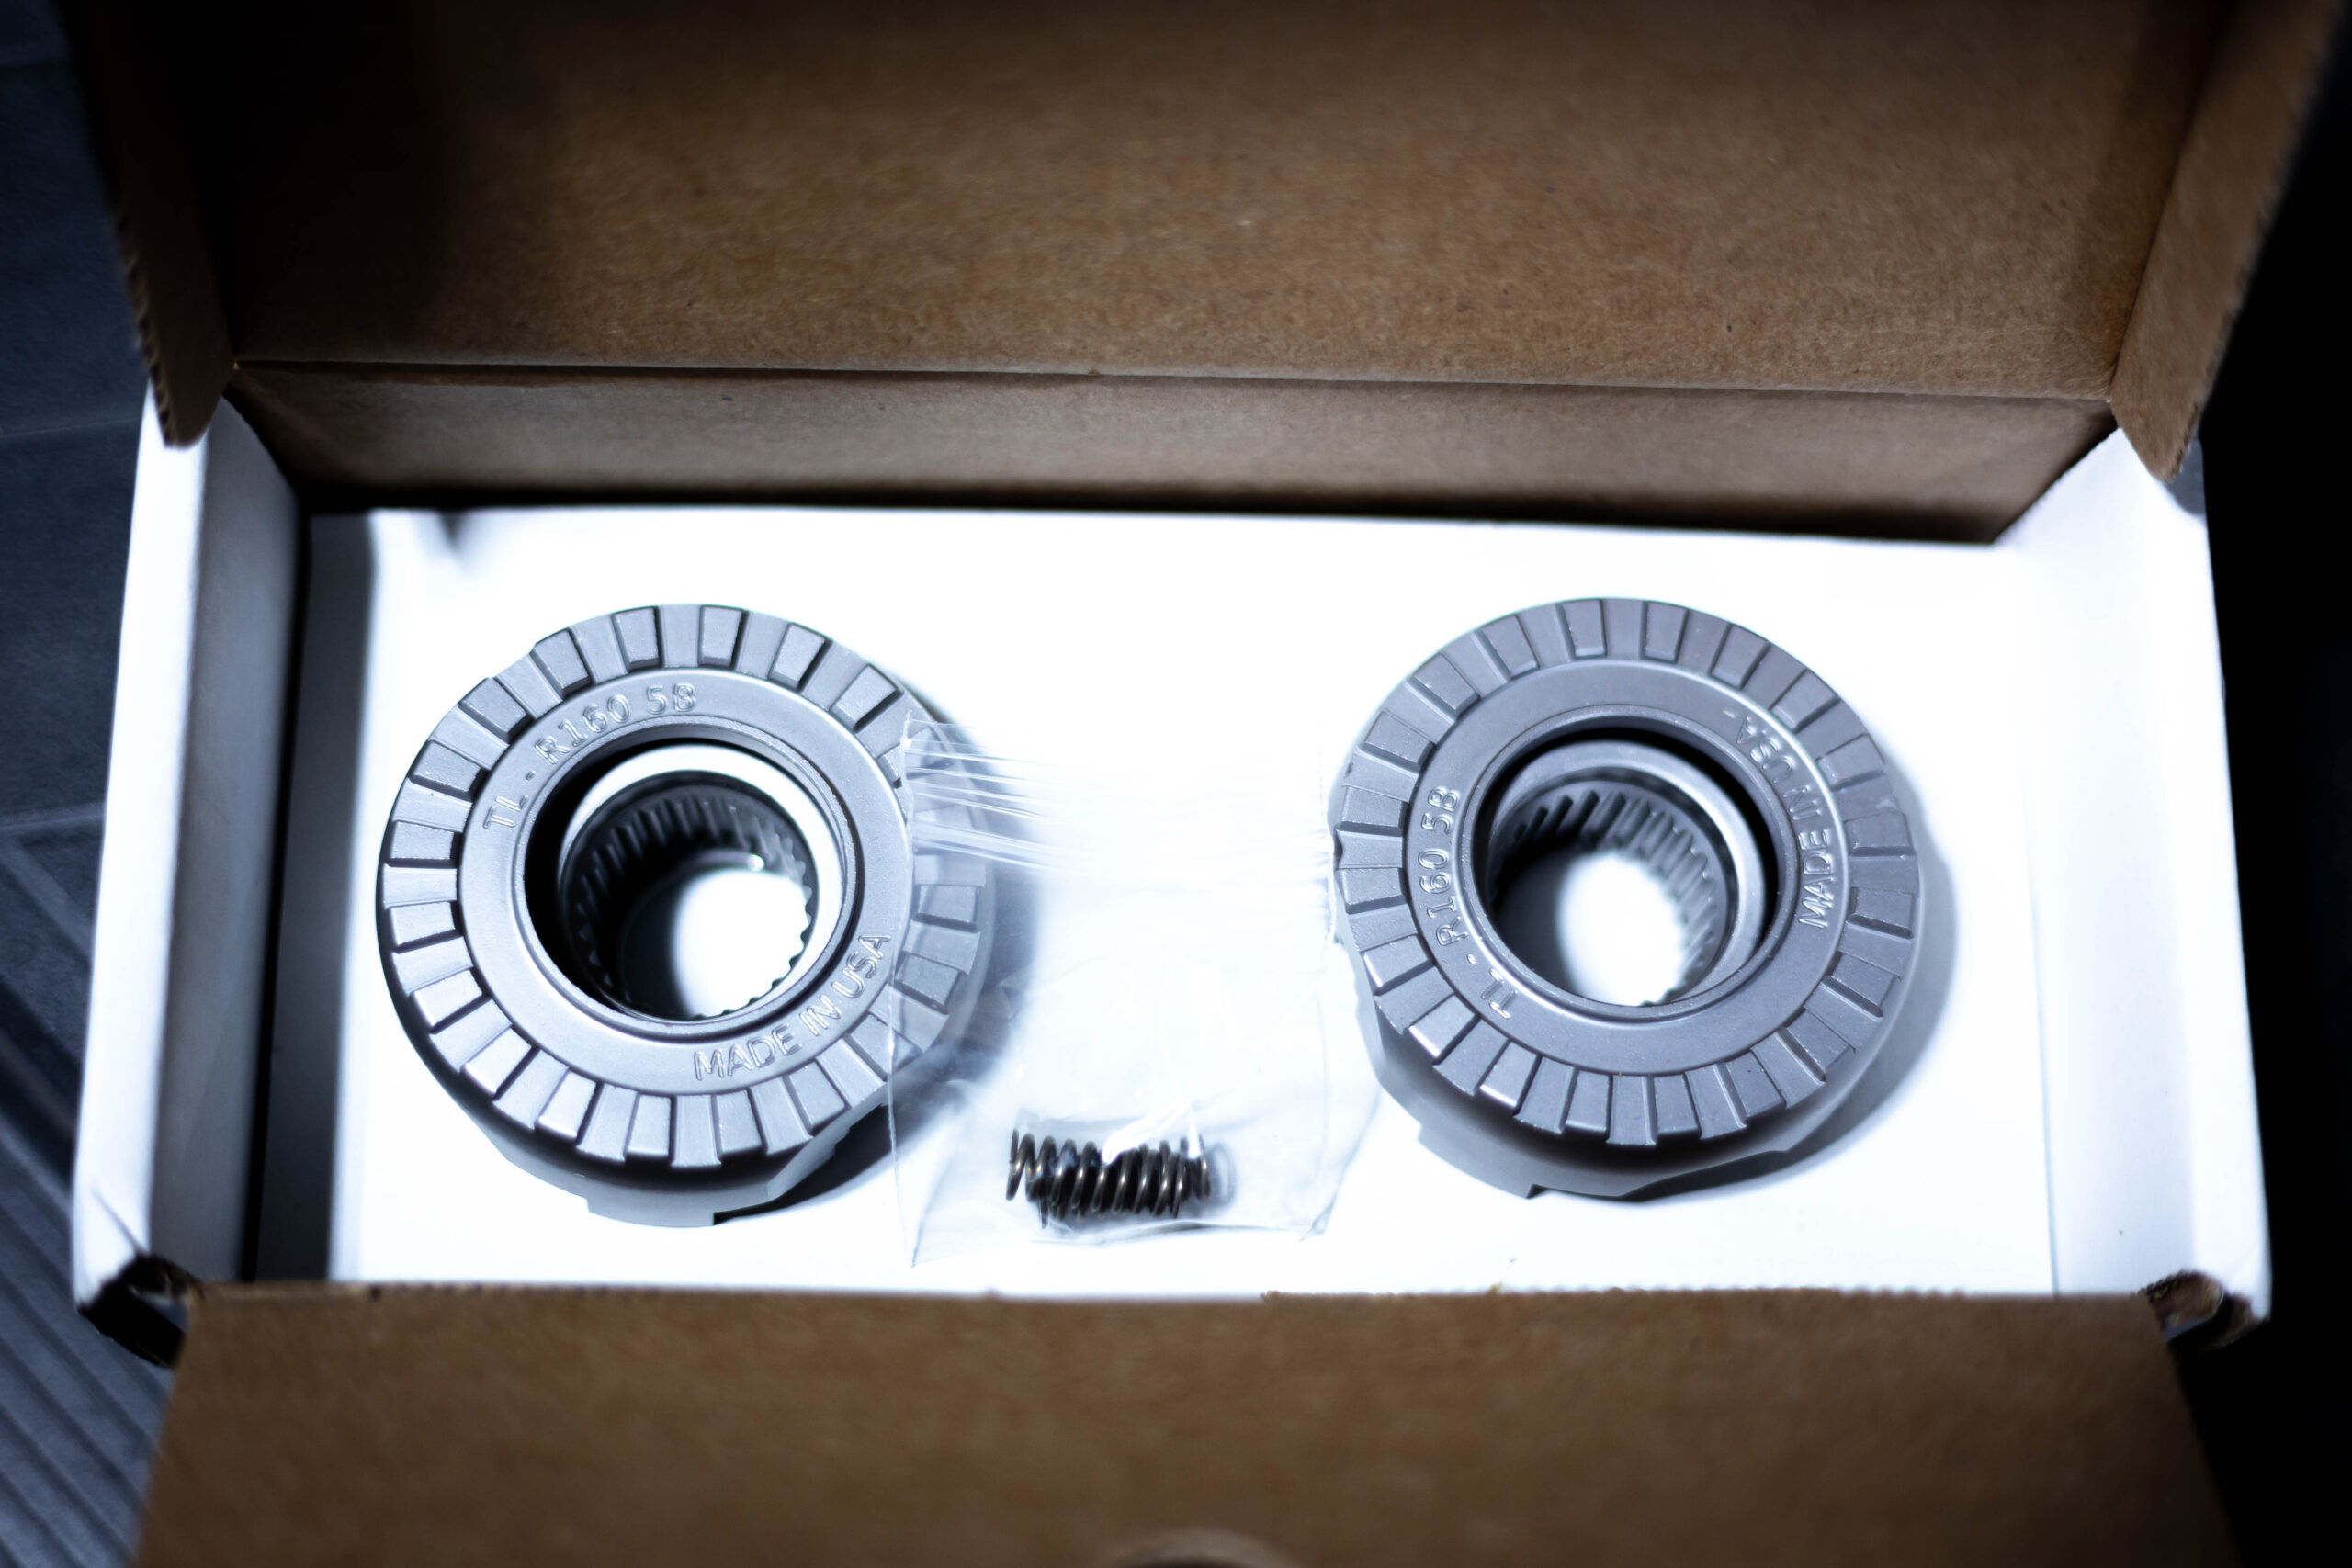
Inside the TORQ Locker box you’ll find just six simple but robust components, including two cam gears, two springs, and two axle gears. The simplicity of the design and the quality of the parts made this an easy choice for me. These are not cheap parts sourced from overseas; they are made right here in the USA. I’ve installed other lockers in Jeeps in the past and I can say with full confidence that this is a superior design that promotes easier installation and a better daily driving experience. There’s no dowels or pins to deal with. Just two simple springs to install between all the gears.
I’ve helped install a different brand of mechanical locker in a friends Jeep Cherokee. It works fine but my goodness it’s the loudest thing ever. It pops and bangs constantly during simple daily driving despite running a heavier gear oil. I haven’t had that experience with any Torq Masters locker yet due to their unique design. To quote their website on this issue, they say “by eliminating the ‘spacer’ found in all other drop-in lockers, the TORQ Locker eliminated the occasional loud pop associated with this style of locker.” I can confirm that this is 100% true. While there is an occasional pop, the locker ratchets very smoothly and feels great. I now own three of their lockers – 1 in my Subaru and 2 in my Jeep. All of them are great.
Drops Right In To Open Differentials:
The TORQ Locker fits in Subaru R160 open differentials, making it a perfect fit for Subaru owners looking to maximize their vehicles’ capabilities without having to buy a new carrier, differential, expensive compressors or electronic components. This locker is available for the 5 bolt R160 differentials and the newer style 1 bolt diffs. So no matter how old or new your Subaru is, chances are this locker can be installed in your car.
American Craftsmanship And Leading R&D:
I mentioned this already, but I think it deserves a point all of its own. Made in the USA, TORQ Lockers are a great example of American craftsmanship and engineering. The brand’s commitment to quality and precision is evident in every piece of the locker the moment you pull it out of the box. What’s even cooler is the fact that the founder and owner of the company is a woman. That’s right, Cora Jokinen can outwheel any of us and has graciously decided to devote company resources to create products for the Subaru platform when so many brands don’t see the value in it. Cora answered all the questions I had prior to purchase and was extremely helpful. I also think it’s worth mentioning that they are the first and only company that has put in the time to create a locker for our cars. We owe them our respect and gratitude for being willing to invest in our community.
Proven Performance:
The TORQ Locker has earned a reputation for reliable and consistent performance. Whether you’re navigating steep inclines or tricky sections with big rocks, you can trust that this locker will deliver the traction you need. I spent years watching one of my friends drive his 99 Subaru Forester through almost impossible sections of trail after installing this locker. It showed me how capable these cars can really be with a rear locker.
Increased Control On The Trails:
With the TORQ Locker in place, you gain greater control over your Subaru’s power distribution, reducing wheel spin and ensuring that power is delivered where it’s needed most. What I like about this is the fact that you don’t have to charge full speed at obstacles anymore. I used to have to rely on momentum to get me through technical sections of the trail. But now that I have a locker, I can drive carefully over and around obstacles without risking serious damage to the car.
To sum up why I chose a TM locker: by choosing the TORQ Locker, I was not only investing in a product that improved my Subaru’s capabilities but also supporting a brand that takes pride in American craftsmanship and next-level performance standards.
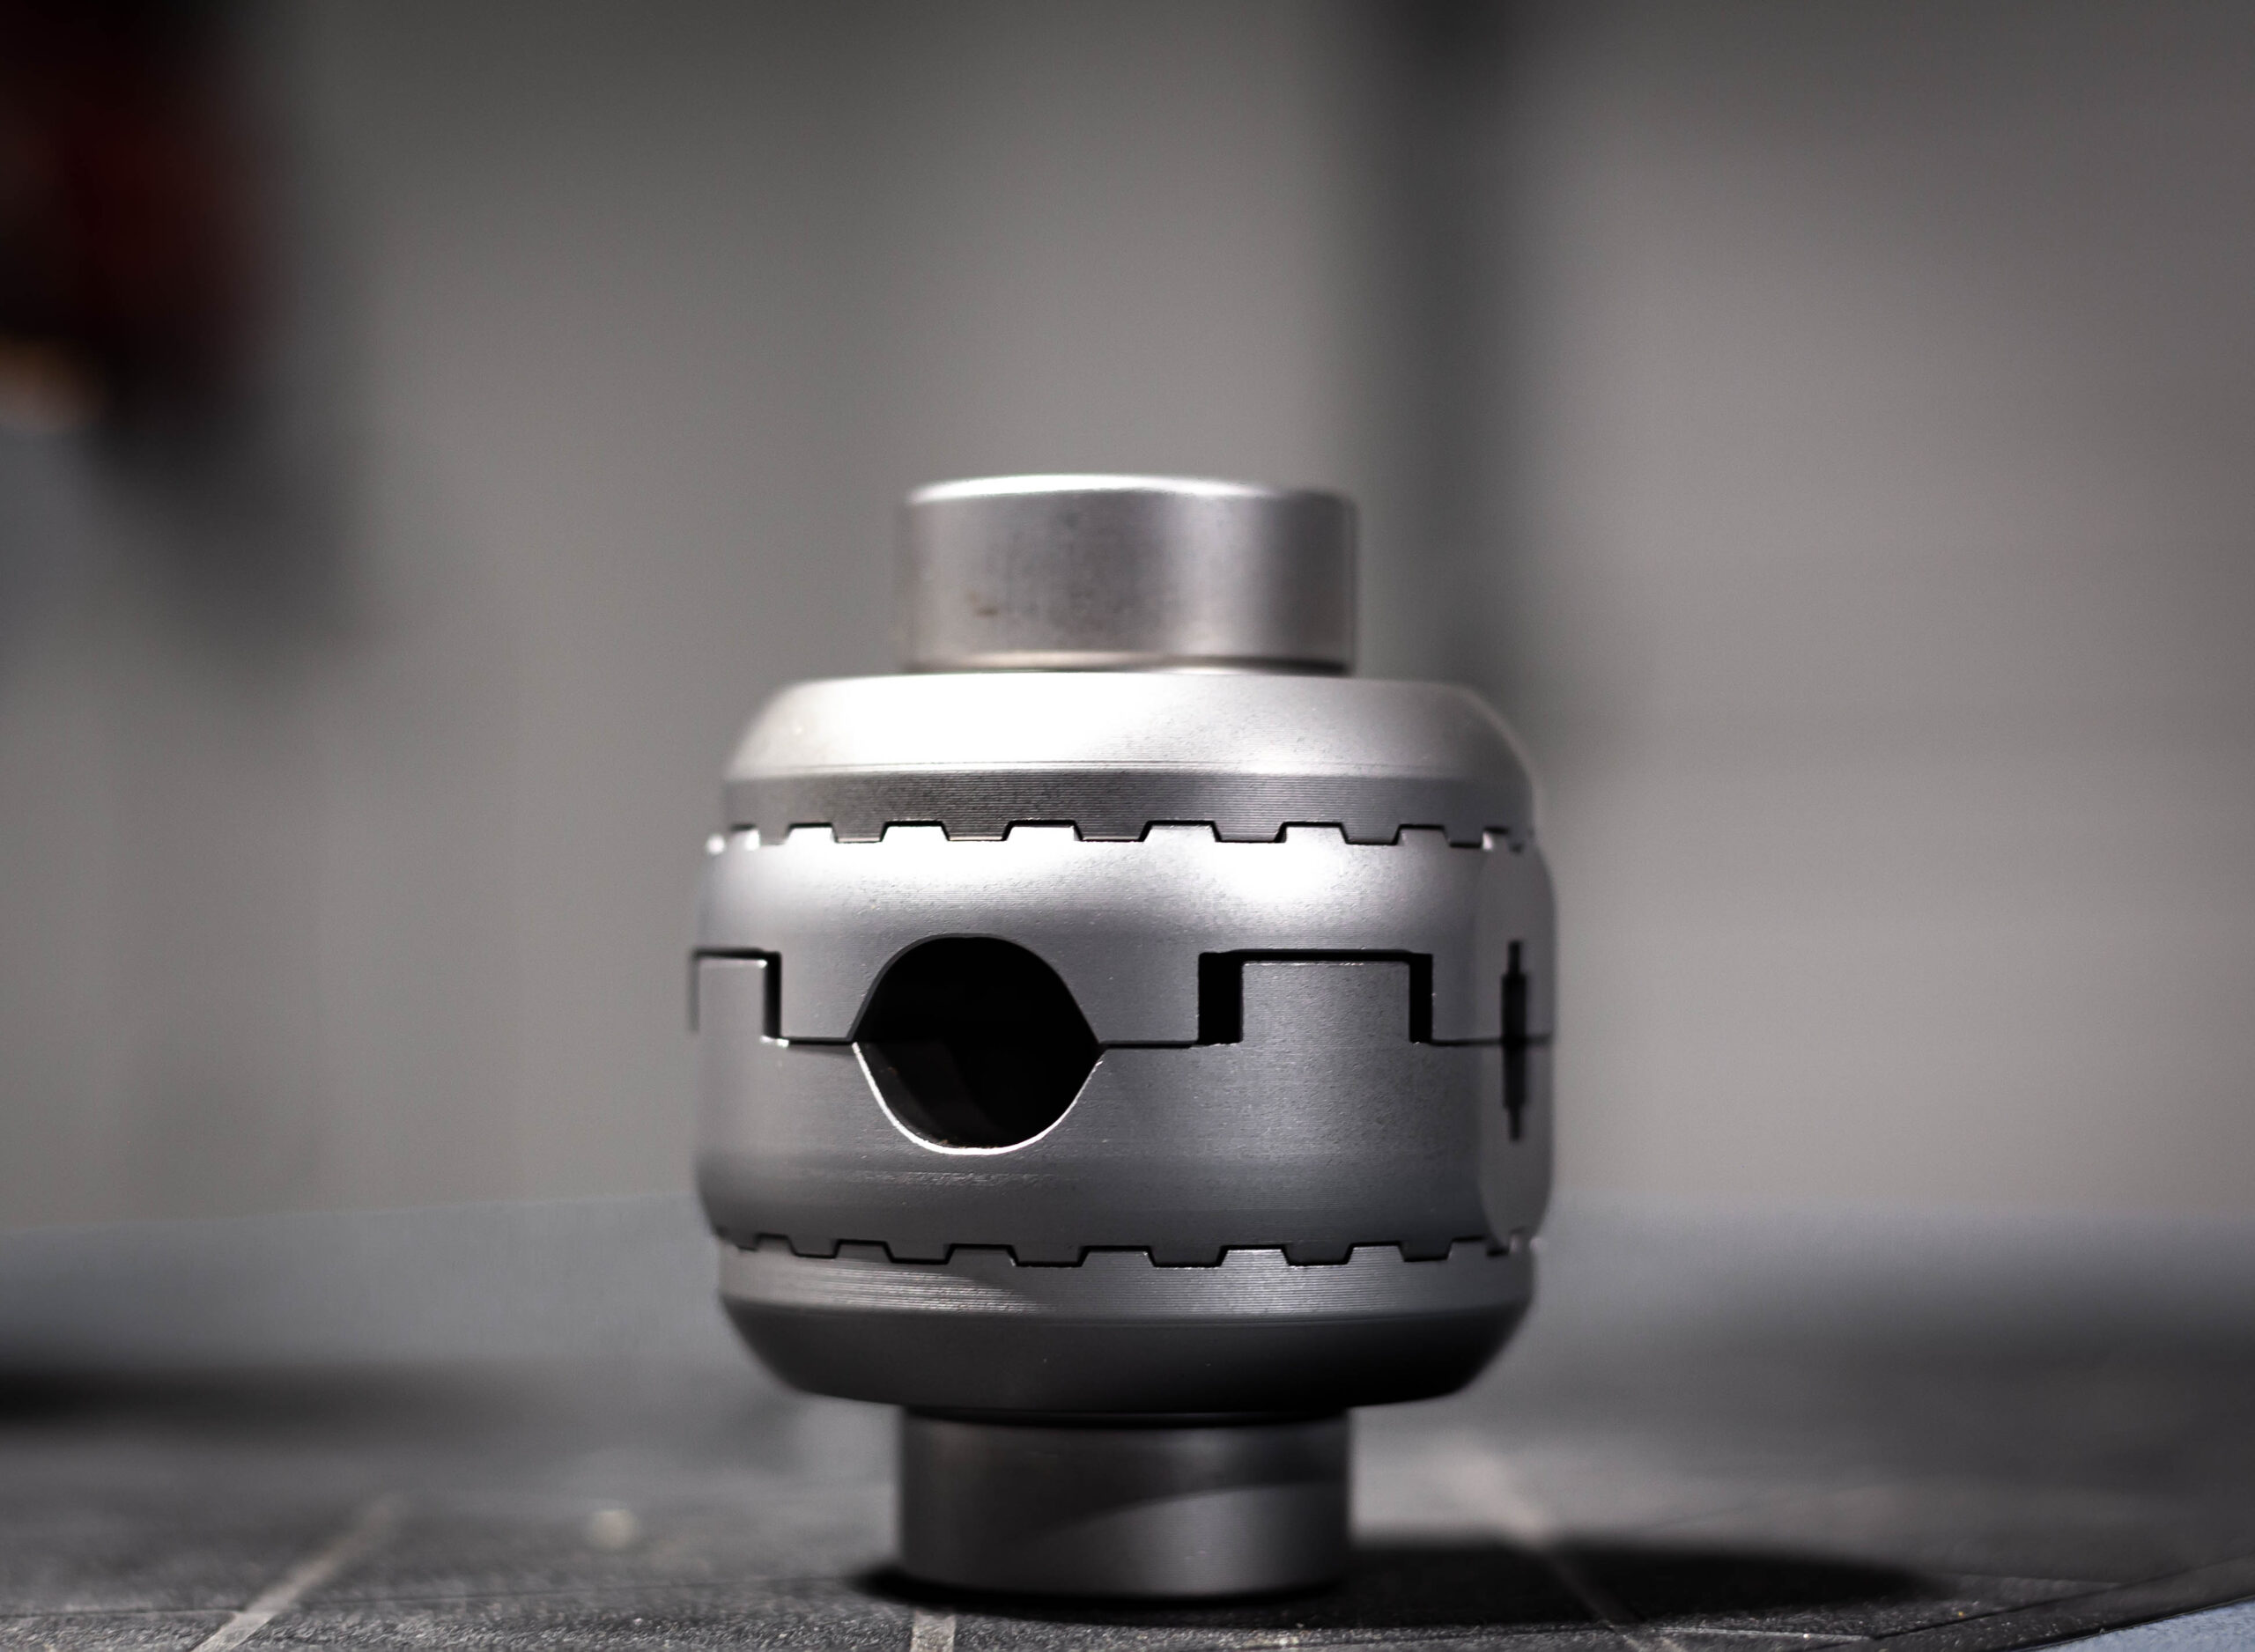
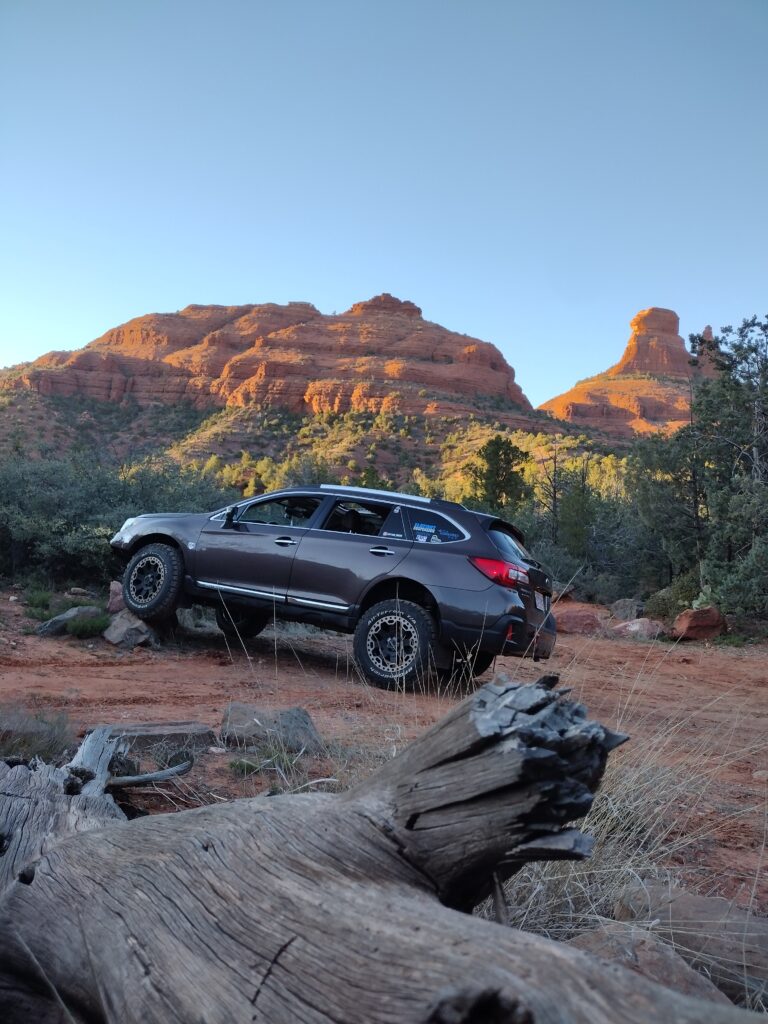
Check out these photos of my locker that showcase the precision machining and high level of craftsmanship that goes into the TORQ Lockers.
In addition to sharing why I selected this locker and why it’s a great modification for Subarus, I’d like to share some extra tips and information. Let’s start off with the biggest question – is it good for daily driving?
Daily Driving With A TORQ Locker:
Driving my Subaru with a locker installed has presented zero issues. At the time of writing this, I have put roughly 800 miles on the car and have enjoyed extra traction without any side effects. But what WILL you experience?
Occasionally, if I am a little heavy on the throttle at low speeds while turning, there’s a small “pop” sound after I straighten back out. What I believe is happening here is the cam gears are unlocking and beginning to freely ratchet again. The first time it happens you may be a little worried that you might have improperly installed it. However, this is normal and isn’t something to be concerned about.
Once you are at higher speeds on much wider curves, you won’t even notice the locker ratcheting at all as you turn. I have yet to hear it at speeds over 20 mph and it doesn’t change the drivability of the car in any way that I’ve found yet.
How Loud IS The TORQ Locker In A Subaru?
You will experience a faint clicking sound from your rear differential at low speeds while taking tight turns. It will be most notable when pulling into and out of parking spaces. In my Subaru it isn’t very loud at all. I can’t think of a very specific sound to liken it to although it is slightly metallic in nature. But for comparison purposes, it might be a bit louder than the sound of an electronic relay clicking on and off. It’s actually more audible to those outside of the vehicle than it is inside the car. I honestly don’t even notice the clicking anymore.
Driving Tips After Installing The TORQ Locker:
There are a few recommendations I would like to share that may improve the driving experience after installing the locker. First, be light on the throttle during tight turns and coast through them when possible. This will allow the cam gears to ratchet freely without chirping the tires.
Next, when driving in the snow it’s important to make sure that you have good tread on your tires and to apply the throttle lightly. I’ve heard many folks talk about how the back of the car may kick out when driving in snow. However, I believe this is due to driver technique and condition of the tires. I asked Cora about this and her answer is pretty simple and gave me a great laugh “snow driving has a lot to do with tire tread and the right foot. Subarus typically don’t have aggressive mud terrains, but more like car tires that don’t have a ton of traction and can kick out in slippery conditions, with or without a locker. So basically don’t drive like a donkey and you will be fine.” I actually couldn’t agree more with her statement. Many lifted Subaru owners are newcomers to the off-road lifestyle and just need a bit more experience.
Once the locker is installed, don’t be afraid to approach objects more slowly. One of the biggest benefits of having a locked differential is that you can rely less on momentum and more on your car’s own power to overtake obstacles. This is more fun and involves less risk of damage to your vehicle. However, there will still be times where momentum is necessary for sections of the trail.
Make it known that you’ve got a locker installed if there is anyone who may be driving or borrowing the car for the first time. If they aren’t aware of the best practices when driving, they might be jarred by any popping sounds created by using too much throttle when turning. They might also think there’s an issue of some sort when they hear the axle gears ratcheting.
Finally, just drive your Subaru and have fun. I have found that Subaru owners can overthink things and get in their own way occasionally. For example, I find that people want to know every single detail of how their car works and every possible outcome that may arise from installing a specific mod. While I can appreciate the desire to understand how things operate, there comes a point where you need to just grab the keys and drive the darn thing. I constantly see people asking questions about the locker on Reddit or in Facebook groups that are borderline nit picky. “How many decibels are the clicks?” “Is the inside or outside wheel driving during turns?” “Will this locker help me fit 35’s with no lift?” (Okay just kidding on the last one. But you get the picture.) My thoughts: just install the locker and have fun.
Extra Parts To Purchase Along With The Locker:
- Rear differential brace or lock out bushings (braces only apply to certain models)
- Anti wobble transmission mount bushing
- Differential breather extension (this work can be completed with parts and tools from the local hardware store)
I chose to purchase an ADF rear diff brace to install at the same time. This brace cuts down on any differential movement. I called Patrick over at ADF and he got me set up with the right parts. I didn’t know if I would need a diff brace or lockout bushings. For my car, the brace was the right option. But if you own something with the multi link suspension, the lockout bushings are a great addition to your parts list for this install. Patrick explained that these can help the locker ratchet properly and cut down on any drivetrain movement or loss of torque due to worn out bushings.
While you’re in the garage doing this work, it’s not a bad idea to install an anti wobble bushing from ADF as well. I purchased one for my 4EAT transmission. I haven’t installed it yet, but will be doing so very soon. It goes into the transmission mount and fills in the gaps. Similar to the lockout bushings and diff brace, this item cuts down on even more drivetrain movement.
You may also want to consider tapping a threaded brass fitting into the diff cover. Then run a silicone hose from that fitting up into the spare tire area inside the vehicle. I did this because the OEM breather cap is not effective at repelling water. If you take your car in deep water with the stock cap, you WILL get water in your differential. There are some great youtube tutorials about installing this mod on your diff.
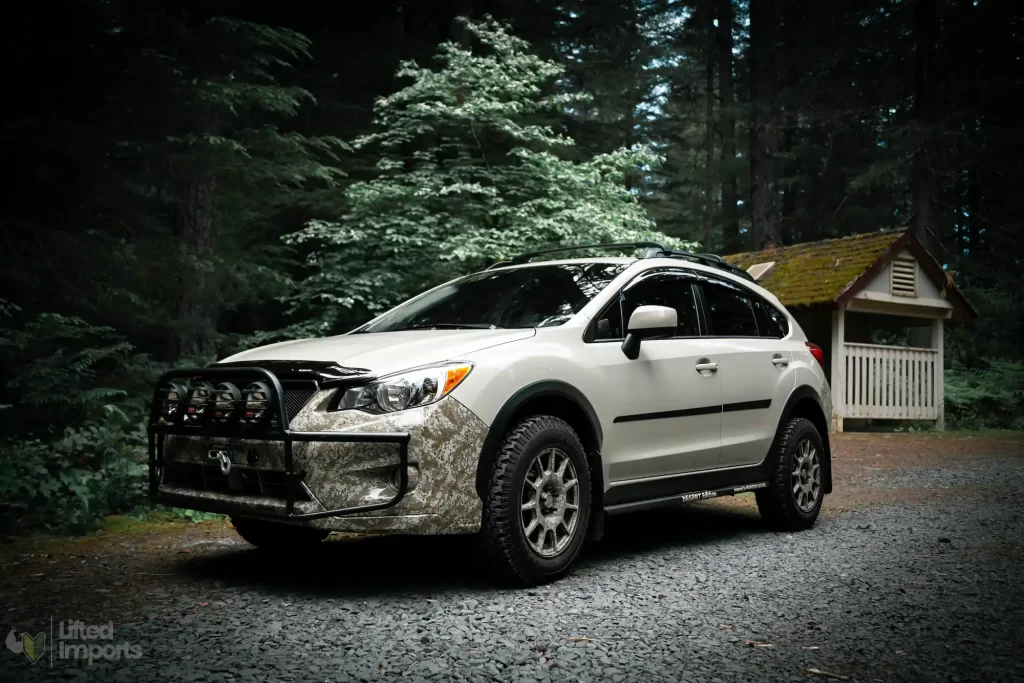
In addition to differential upgrades, it would be wise to install a lift kit and off-road tires if you want your Subaru to be fully capable. Check out these articles to read up on both of these upgrades.
I purchased my TORQ Locker direct from Torq Masters. But there are multiple places that you can buy them, including Amazon for those of you who have the Prime membership.

Installing The Locker:
Before we dive in to the installation, keep in mind that this project requires some knowledge of differentials and a willingness to get your hands dirty. Safety is a priority, so make sure you’re prepared with all the right equipment before you start. It’s important to always consult with a professional if you’re not confident in doing this project.
Getting Started
Before beginning the installation, it’s wise to read through the instructions to get a sense of what you’re about to undertake to ensure that you’re comfortable doing it. A little preparation goes a long way in making the installation smoother. You can find the official instructions from TORQ Masters HERE.
For this project, it’s good to have a factory service or aftermarket repair manual for your Subaru and be familiar with procedures like wheel removal and CV axle handling. I used a Haynes manual to quickly find torque specs. I also utilized paint pens and sharpies to mark different components in order to put them back together correctly. You can plan to spend between 3-8 hours for install time. This will vary based on your skill level and the number of other items you decide to replace while doing the installation (this is a great time to inspect brakes, CV axles, seals, and suspension since they will be easily accessible.)
Understanding the TORQ Locker
The TORQ Locker is designed to turn your Subaru’s open differential into a more capable unit by replacing the factory spiders gears with its own cam gears and axle gears. The way these lockers work is that the cam gears are technically always locked which gives both of your tires the ability to receive equal power. The cool thing about it is that despite being constantly locked, the TORQ Locker allows for ratcheting of the cam gears on the axle side allowing your wheels to rotate at different speeds through turns. This is where the audible clicking comes from and that click sound means your locker is operating correctly.
The TORQ Locker Components Included:
In the TORQ Locker kit, you’ll find the following:
- Cam gears
- Springs
- Axle gears
Tools Needed:
As per the Torq Masters instructions, here are the tools needed to perform the installation. But I have added some notes regarding my experience.
- 3/8” and 1/2” ratchet
- 3/8” and 1/2” torque wrenches
- 12mm box wrench
- 14mm box wrench
- 17mm box wrench
- 12mm socket
- 14mm socket
- 17mm socket
- Dead blow hammer (rubber mallet can work also if no dead blow hammer is available)
- 5/32 punch for cross shaft roll pin removal (make sure your punch has at least 2.5-3 inches of non tapered length so that it can fully punch out the roll pin)
- Pry bar (a medium to large pry bar from harbor freight worked great for me)
- Slip-joint and needle nose Pliers
- Small flat blade screwdriver
Recommended:
- Transmission jack to help remove and install the carrier. I used one of these and it made the job a lot easier. The diff isn’t necessarily heavy, but it’s hard to hold it in position while performing other tasks.
- 1/2″ impact gun. I’m going to just come out and say you should have impact tools. It makes the job so much easier.
- Gather any additional tools that you might need for other installs that you plan to do simultaneously – brake tools, or anything you might need to install new seals.
Installation Steps:
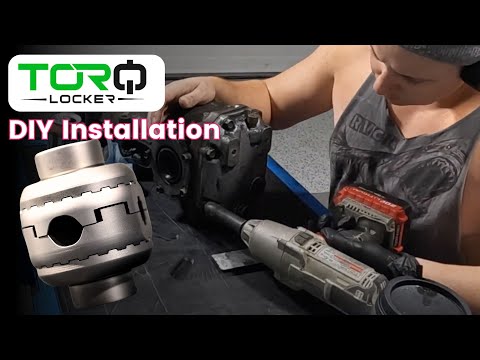
Now, let’s get to the exciting part – the installation. Here are the major steps that I took but the official instructions provide detailed photos and additional technical info. Feel free to check out my full installation video below if you need additional clarification on how I did it. But keep in mind that I’m not a mechanic and cannot offer professional advice. I just love working on my own cars!
Begin by safely lifting your vehicle on jack stands and ensuring it’s in neutral.
Remove the rear differential drain plug and drain the gear oil. I always make sure the fill plug is functional before pulling the drain plug.
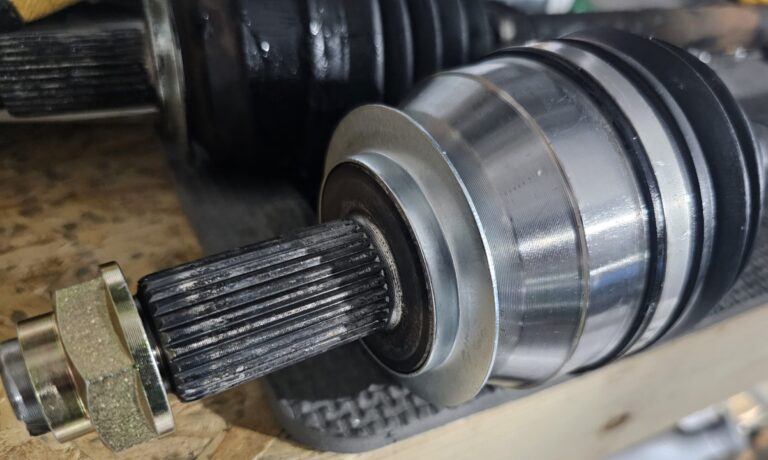
Take out the axle shafts and unbolt the driveline as per your vehicle’s manual. Be careful not to damage the splines on your axles. You can wrap them in a plastic bag or whatever you have handy. It’s also good to notate which side is driver and which is passenger. They are different sizes in some Subarus.
Carefully remove the rear differential unit. Having a transmission jack made this process easier for me. You may also want to have a pry bar on hand to ensure that you can pull the diff off of the studs without any problems.
Position the differential unit securely for disassembly. You can stage it on the workbench or in a 5 gallon bucket at this point.
Start by removing the breather tube from the rear cover. You can retain the breather cap or you can install the breather tube mod during this process by tapping threads into the breather hole and then installing a brass hose fitting. Then you can take 3 feet of silicone hose and run it up into the cabin.
Remove all the rear cover bolts and detach the rear cover. This step may require gently tapping the cover with a rubber mallet or dead blow hammer.
Thoroughly clean the side cover bearing retainer areas to ensure that no dirt or contaminants make their way inside.
Label and index the orientation of the side covers using a paint pen or sharpie. Make sure you have penetrating oil for the retainer bolts.
Gently remove the carrier and mark the carrier and ring gear for future reference. The ring gear needs to sit on the carrier in the exact same orientation as it came out.
Remove the 17mm ring gear bolts from the carrier. I found this to be easiest using an impact tool.
Gently tap the carrier until the ring gear falls off. A dead blow hammer or a rubber mallet is good for this step.
Locate the center pin and the center pin dowel pin retainer within the case. Using a 5/32 punch, carefully remove the dowel pin. Note that you will want to use the longest 5/32 punch you can get. Mine was too short and I had to extend it using a tool that I made. Retain both the center pin and dowel pin retainer for future use. Inspect the cross pin for wear marks or polish marks, and if wear is evident, consider replacing the cross pin. Check the Torq Masters instructions for this procedure.
Remove the spider gears and the curved washers from the differential case. Save the non curved thrust washers from behind the axle side.
Prepare the TORQ Locker for installation. Apply grease to the teeth of the gears and then to the backs of each gear.
Install the thrust washers on the backs of the axle gears. I used assembly grease to help the washers “stick” to the axle gears. Install the axle gears into the carrier on both sides.
Install the first cam gear, followed by the second one, making sure they’re flush with each other. I made sure to install the first cam gear with the larger teeth oriented towards the bottom. This allows you to easily drop the second cam gear in.
Insert the two springs into the spring pockets. I used assembly grease and wore rubber gloves while pushing these springs into place. Make sure they’re securely in their place. Some people may want to use a pair of pliers or a screwdriver to seat the springs. NOTE: I performed step 19 prior to installing the springs and this may be why the springs went in easily. I didn’t experience any problems from switching these two steps.
Reattach the cross pin and roll pin and measure the center gap spacing between the two cam gears. I used an inexpensive set of calipers to ensure that my measurement was between .145 and .175 inches. If it’s not between these values, your carrier may be damaged or your installation process may need to be reviewed.
Reattach the ring gear to the carrier, aligning your index marks. Make sure these bolts are torqued correctly.
Insert the carrier assembly back into the differential case. You may discover that the carrier is hard to slide into the housing, but it takes some finesse to get it to correctly fit through the front of the case. Do not force it if you feel resistance. Try various angles and be gentle as you guide it in.
Reinstall the side gear covers and the rear differential cover in reverse order. If your axle seals or diff cover seals are damaged, replace them prior to re-installation. Don’t forget to check the back side of the seals to make sure the springs on the back side are still intact.
Finally, reinstall your upgraded differential into the Subaru opposite to the order you removed it making sure that correct torque specs are used along the way.
After completing the installation, remember to perform the “Spin Test” and take your vehicle for a test drive. To perform the spin test, here is the procedure as per Torq Masters: “Place the vehicle in gear or park first to attempt to lock the drive shaft. If the drive shaft continues to spin freely use the following pry bar method. As during disassembly, place a pry bar in the yoke of the drive shaft to carrier connection. Once the drive shaft is locked in some fashion, rotate one tire until it stops and hold it firmly. The tire is now locked to the locker teeth and to the drive shaft (you may need to chock the tire to hold it). Rotate the other tire in the opposite direction. It should release and go “click click click” as it rotates. Repeat for both tires in both directions. The “click” will be less noticeable once the gear oil has an opportunity to circulate through the carrier.”
Final Installation Notes:
There are a few things I want to make note of relating to the installation:
- Be sure to soak all bolts with penetrating oil a few days prior to performing the install.
- Have new gaskets and seals on hand just in case. If you don’t need them, you can easily return them.
- Make sure you fully seat the axles back into the differential after installation. This takes a bit of elbow grease, but you HAVE to make sure they fully click into the retainer clips.
- Don’t forget to re-punch the axle nuts after reinstalling everything.
Hopefully this article helps give you a better idea of what it’s like to drive a Subaru with the TORQ Locker installed and gives you some insight into the install process. If I can perform this installation, many of you can likely take it on as well. If you have any questions about my experience, shoot me an email or reach out to Torq Masters for more technical questions. Again, I think this mod is absolutely worth it and if you’re on the fence about it, I say go for it!
Have you installed a locker in your Subaru before? Let us know in the comments!

As an Amazon Affiliate we may earn from qualifying purchases
3 thoughts on “Subaru Torq Locker Purchase & Installation (Video Included)”
I installed a locker in my Outback and absolutely love it. I also felt like the daily drivability was not affected much if at all. Good write up!
Good to hear, Mike! What year is your Outback? I’m still loving my locker.
Thanks for the review!! I am going to purchase mine tonight or tomorrow. I’ll refer to your install video. Thx for filming that. I browsed thru it and it actually looks pretty detailed