Convenient Spare Tire Storage | Best Rear Tire Carriers For Subaru
Save CONVENIENT SPARE TIRE STORAGE – BEST REAR TIRE CARRIERS FOR SUBARU By Ben Boxer If you’ve been considering a rear tire carrier for your
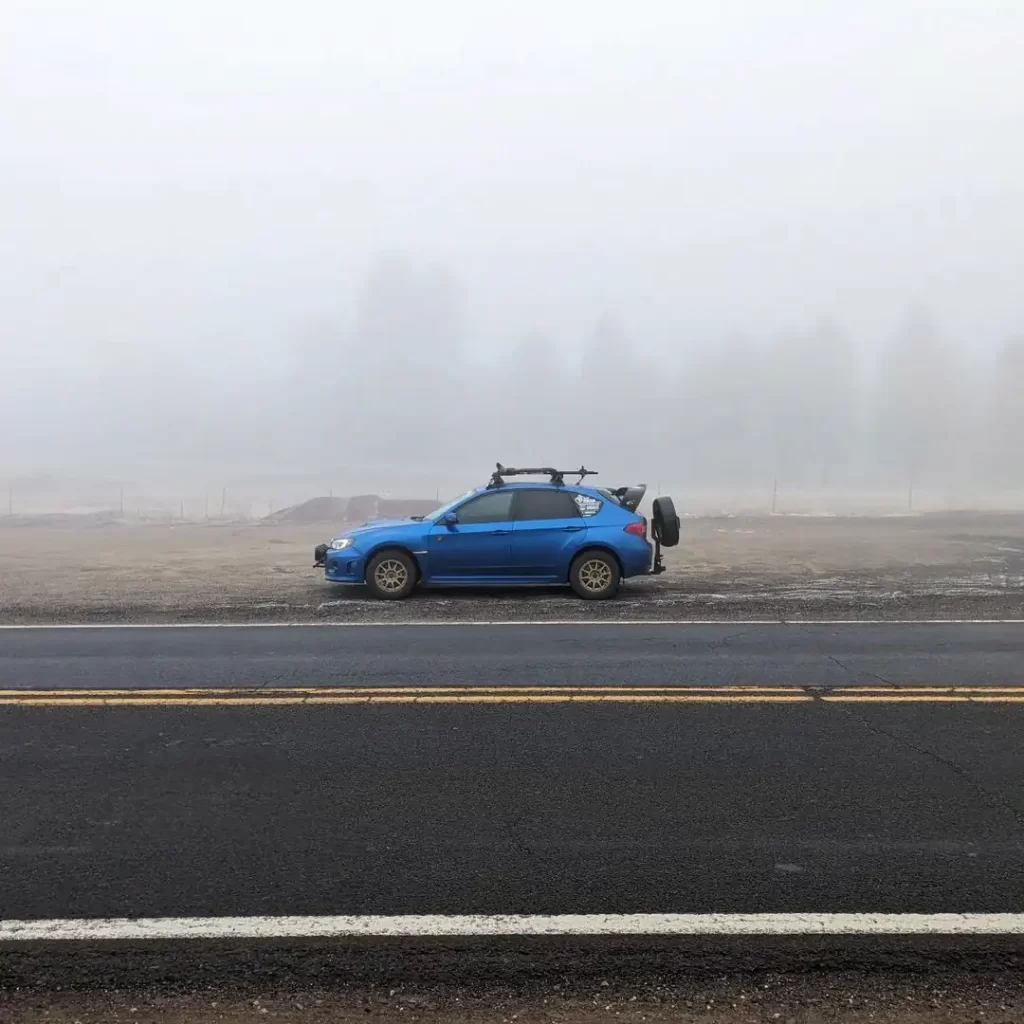
After posting the build feature for Kevin’s 2017 WRX, Anthony reached out and asked if we would want to do an article with his 2014 trail-ready WRX hatch. We saw his setup including his trail kitchen, we hesitated for about 3 seconds and immediately thought “HECK YEAH!” We hope you enjoy it as much as we do!
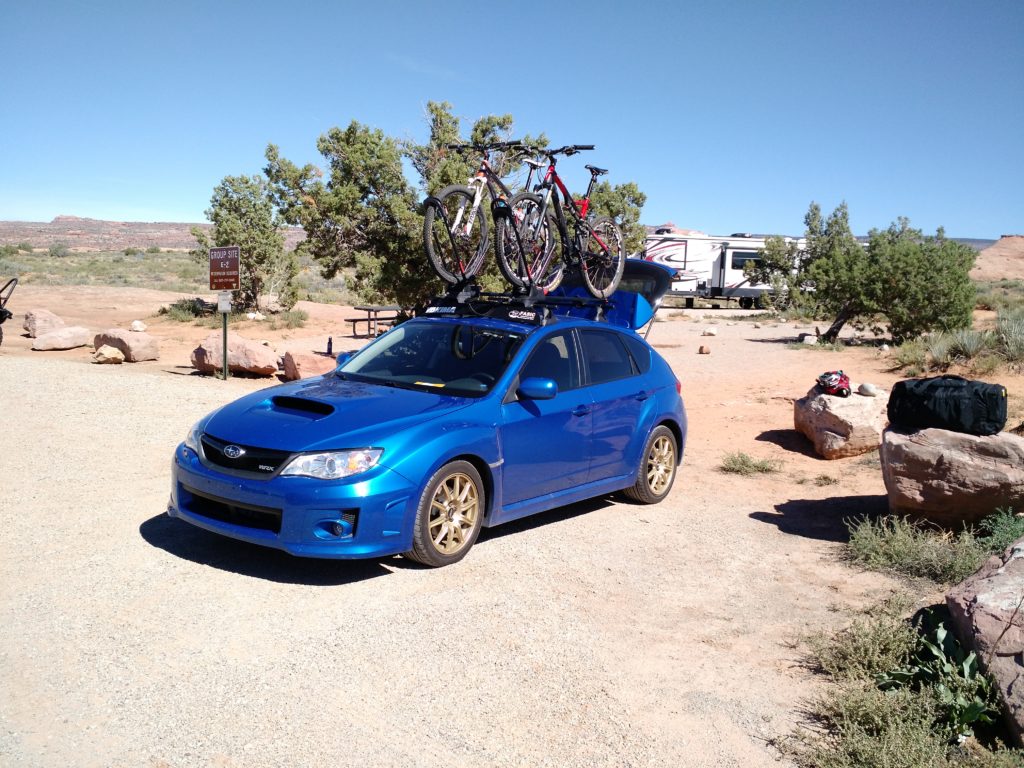
I bought my WRX brand new in 2014. I was waiting for the new 2015 WRXs to come out, but once I learned that Subaru was dropping the hatch, I started looking for one of the hatches. I was going to buy used, but I wasn’t able to find a good deal on a used. They were pretty much the same price as a new one. I knew that whatever WRX I got, it had to be blue.
I managed to find the last blue WRX hatch in Arizona. I picked it up with 14 miles on the odometer. So originally my plan was never to lift the WRX at all. Like a lot of folks out there, I wanted to go for the full street build and turn it into an amazing street car, but as you pointed out, a lot of my hobbies involve the outdoors.
I basically love anything outdoors. I do a fair amount mountain biking and backpacking, but most of the outdoor activities are at the end of a dirt road. There was one time that I was driving out to a trailhead for a backpacking trip and the road was rated as “suitable for all vehicles.” That was lie. It was a pretty rough (from a stock WRX perspective) dirt road. I scraped my front bumper numerous times, pretty much wrecked the factory “skid plate.” There were certain sections of that road where I was 3 wheeling.
It was after that experience that I decided I needed to do something. The car in its current form was not going to cut it for outdoor activities. It was either get a truck, or lift the WRX. I decided to lift the WRX as I really loved that car (and still do), so I couldn’t get myself to part ways with it, and I’m glad that I didn’t!
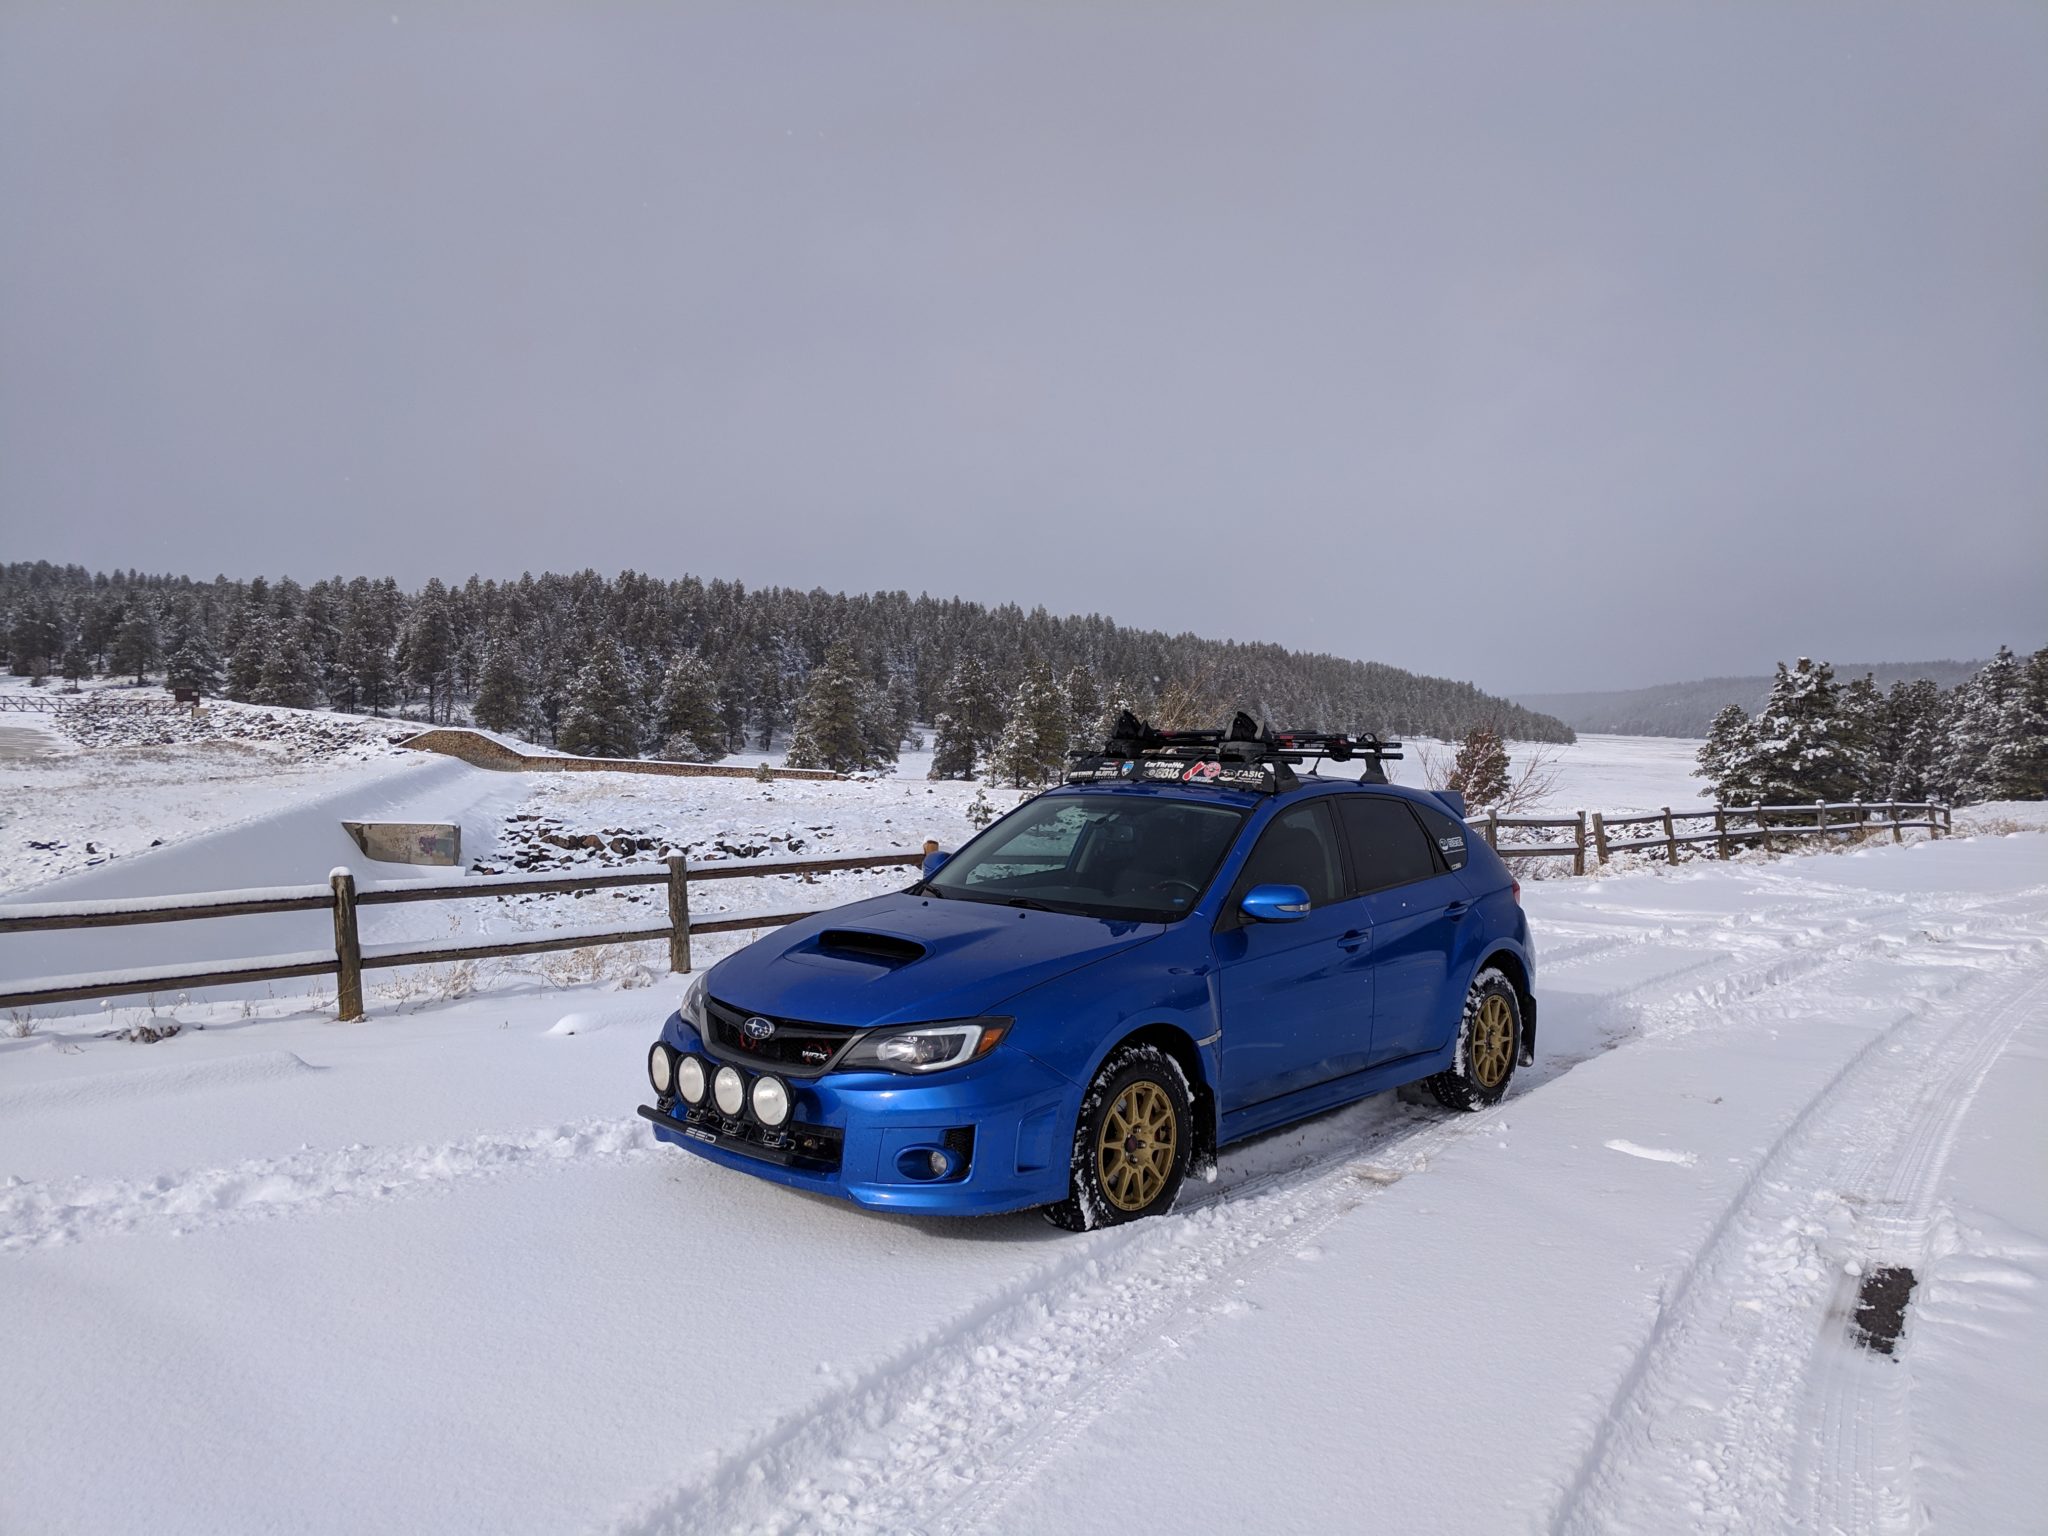
Once I decided to lift my car, I wound up doing a bunch of research on what I could do. At the time there wasn’t much information available. This was before the whole “lifting your Subaru” was a big thing. I decided to go with a set of King Raised Springs and rear subframe spacers from Primitive Racing to get the lift that I wanted. I also added a Primitive Racing 3/16” Skid Plate as well just for that extra bit of insurance off road (I also pretty much destroyed the plastic one).
To top off the transformation, I decided to go with some smaller wheels and some all-terrain tires to give me just a bit of extra lift and off-road grip (let’s be honest the stock tires have no sidewall). I went with a set of 15” Method MR501 VT-spec rims. The main reason I chose those was that they’re used all over in the rally scene (I mean, Subaru Rally Team USA uses method wheels, so the must be good).
As far as tires went, at the time I went with a set of 205/70R15 Pirelli Scorpion ATRs. That size is a little bigger than the OEM tire diameter, but I wanted something that wouldn’t rub (which they didn’t, so mission accomplished). That transformed the WRX and made it way more capable off road (not saying it’s capable of Jeep trails, but it’s also not sports car low anymore). I ran it like that for about 2 years and then decided I wanted some more clearance.
At that point I decided to add a set of Primitive Racing 1.25” lift spacers to the setup. Along with the spacers, I also installed a set of Koni Yellow Shocks. The stock shocks just couldn’t deal with stiffer King Springs that well. After installing the spacers and the shocks, my WRX had as much ground clearance as a Crosstrek, so that’s where the name Crosstrek WRX came from. I basically turned my WRX into the turbo Crosstrek that Subaru never gave us! As I like to say it has the ground clearance of a Crosstrek with the performance of a WRX!
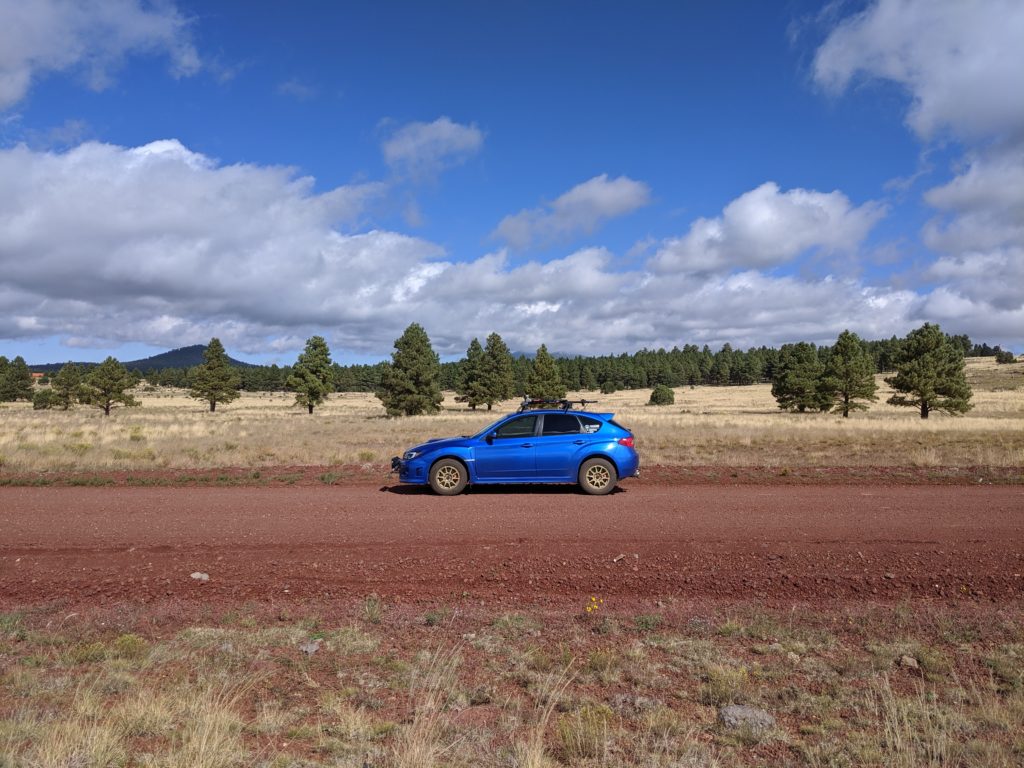
Yeah, of course. As far as suspension goes, I think I mentioned a lot of it before, but to recap, I’m running a set of 1.25” Primitive Racing lift spacers in all four corners along with some King Raised Springs on a set of Koni Yellow Shocks. For wheels and tires, I’m running a set of 15” Method MR501 VT spec rims wrapped in a set of 205/70R15 Yokohama Geolandar AT G015 tires (I wore out my Pirellis and had to get new tires, but Pirelli doesn’t make the Scorpion ATRs in WRX friendly size any more).
I didn’t mention it above, but the brakes are also upgraded. I’m running the Subaru 4/2 pot brakes with DBA Series 4000 rotors and Hawk HPS pads. The nice thing is that the Methods clear them (barely). That brake setup is basically the same that a lot of the rally teams use just because the calipers fit under a 15” wheel. Other than that, the car is pretty much stock. The only other major modifications that I have done include the Yakima rack, and my SSD Performance light bar with 4 Hella 7” ValueFit LED lights (2 driving beam and 2 spot beam).
I guess probably one of the biggest modifications I’ve done to the car was the addition of a trail kitchen and a roof tent. This Summer I took the car on a 4000-mile roadtrip up to Canada from Arizona and back on the #Roadtrip2RallySchool. You can read more about on the DirtFish website!
The trail kitchen, I designed and built by myself in about the span of three weeks. With the design, I wanted to build something like what you would see on all the overland vehicles where you have the entire kitchen in the back of the truck/van/SUV. To my knowledge, I’m the only one in the world that has done this to a WRX. I wound up building a trail kitchen that could house everything I needed to cook on the go. I built in a fridge slide, work surface, and tons of built in storage. On top of that, I didn’t sacrifice my rear seats (although those got filled with all my other gear that I couldn’t fit in the trunk.
As far as roof tents go, I went with the Tepui LowPro 2. I wanted the smallest possible profile tent. The WRX already doesn’t get stellar gas mileage and I didn’t want a massive brick on the roof. With that setup I toured almost 2 weeks across the Western US and I had zero issues. Everything worked as planned!
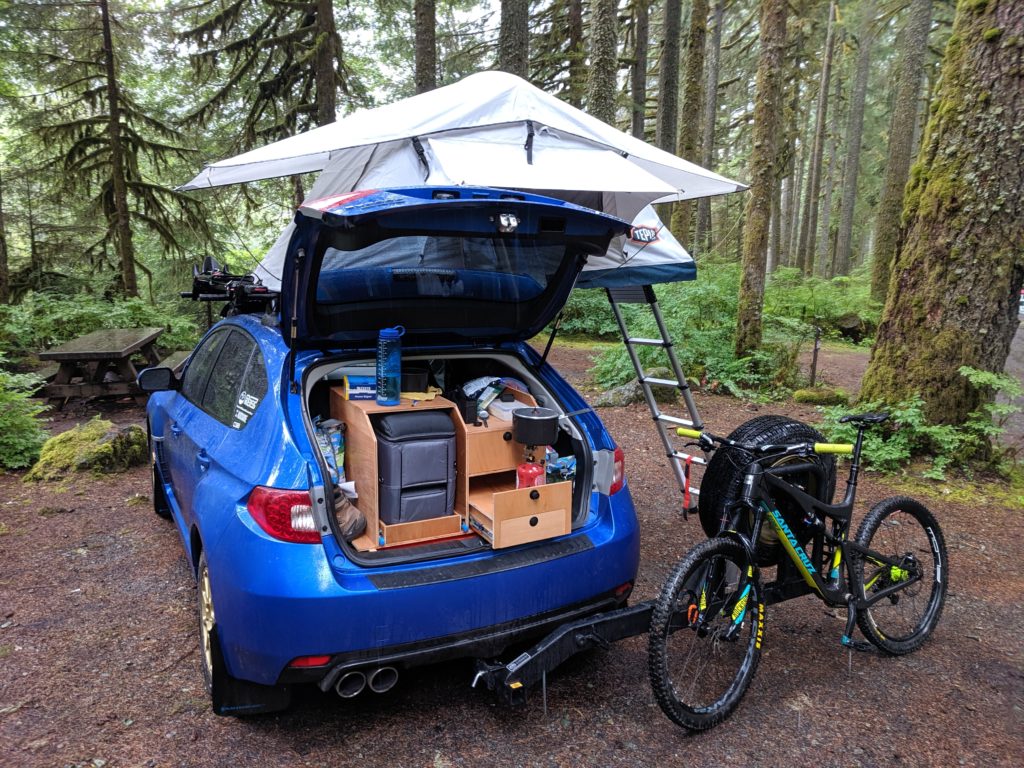

Thanks! I had a lot of fun designing and building it! Right now, the way I have it set, the fridge is just powered from the 12V outlet in the center console. Right now, it’s only on when I drive, so I’ve been using it as a freezer for when I go camping – freeze stuff while I’m driving, and then basically just use it as a normal cooler while I’m parked. I’m however working on installing a second battery in the trunk to be able to always run the accessories like my fridge even when I’m parked. The second battery will be hooked up to the main battery via a National Luna dual battery controller. That will allow the battery to be charged while I’m driving, and then automatically disconnect the secondary (trunk) battery from the starter battery once I turn the car off so it doesn’t drain my starter battery. This is basically what all the overland guys have in their rig, so I’m excited to get it installed soon. Again, I think this will be a first in a WRX! As far as cooking goes, I’m just using my little backpacking stove. In the future I’m looking to get a single burner stove that I can integrate into the kitchen a little more.
The main reason behind me building the kitchen was for the #Roadtrip2RallySchool. I’ve always wanted to do a big West coast road trip like that amd this year, I had the opportunity to make that happen thanks to winning a day at DirtFish Rally School through Blipshift. I was inspired by all the overland builds out there with the integrated kitchens and thought to myself that it would be cool to do something like that in my WRX. So, once I decided on making it happened, I decided on a couple of objectives with the kitchen: 1) It had to fit in the trunk area. I didn’t want to sacrifice my rear seats for the trail kitchen. 2) It had to fit an electric fridge on a slide out tray. I decided on the Dometic CF25 as it was the only electric fridge that was short enough to fit in the trunk area of my Subie. 3) It had to have a work surface that I could use to prepare meals. 4) Had to have some storage for all the utensils, pots, etc. So, once I had all the requirements outlined, I went to work. First step was getting everything measured up.I had to figure out how much room I had to work with in the back of my WRX (spoiler alert, not much). Once I had measurements done, I made some card board mockups and tried fitting everything in the back. Once I had those done, I designed all the parts using CAD. Once I had the entire model done, I made prints, bought the materials, and went to work. Over the course of 2 weekends, I got everything cut and assembled.
I’m actually a mechanical engineer by schooling, but I really love doing things with my hands, and I have always loved woodwork, so it was something that I enjoyed doing! I’m, actually working on version 2 of the trail kitchen right now. I want to make some improvements based on some of the things I’ve figured out and learned since the initial build.
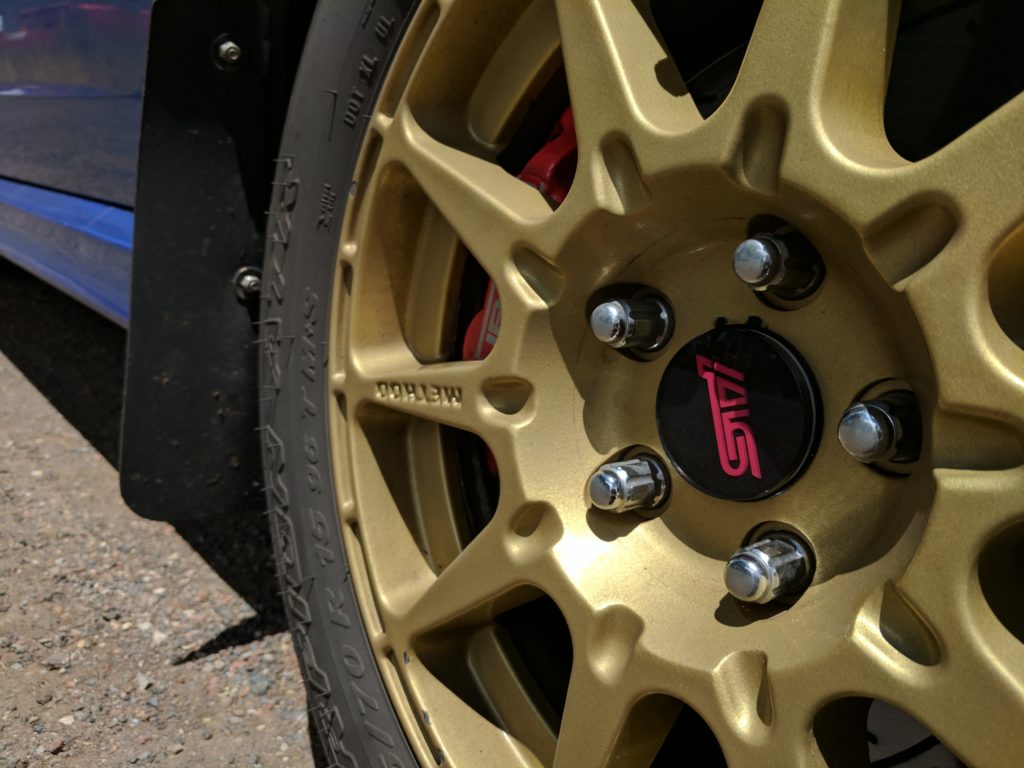
Really not that many issues, though there are some. Method says the MR501 VT Specs will clear the Subaru 4/2 Pot brakes, and the do, but there is not a lot of room between the caliper and the rim. I had my rims power coated gold when I got them, but now, a lot of the powder coat has actually scrapped off on the inside of the wheel due to rocks and other things getting between the wheel and the caliper. Some of the paint on the caliper has also scrapped off, and there are a couple of surface scrapes in the caliper. Nothing that I would worry about, but if you are looking to keep all your parts in perfect conditions, the 15” Methods probably aren’t the wheels for you. When I bought them, I really wanted Methods and they only came in a 15” variety, but now Method offers the MR502 in a 16” size which I think I would go for if I was doing my build again.
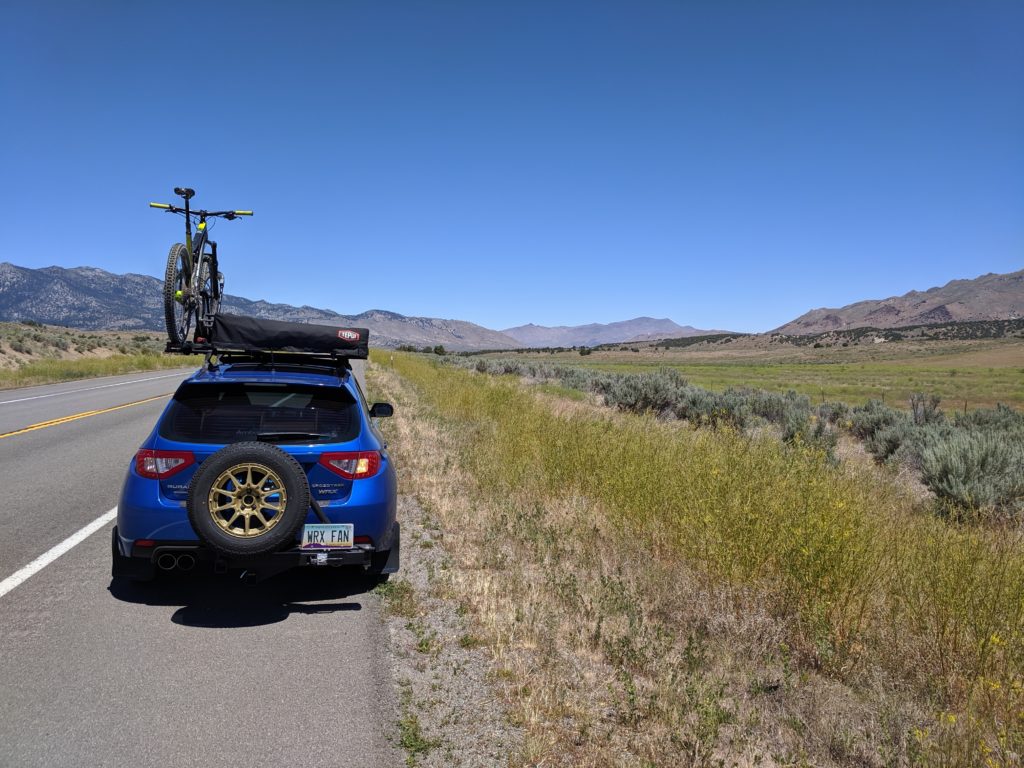
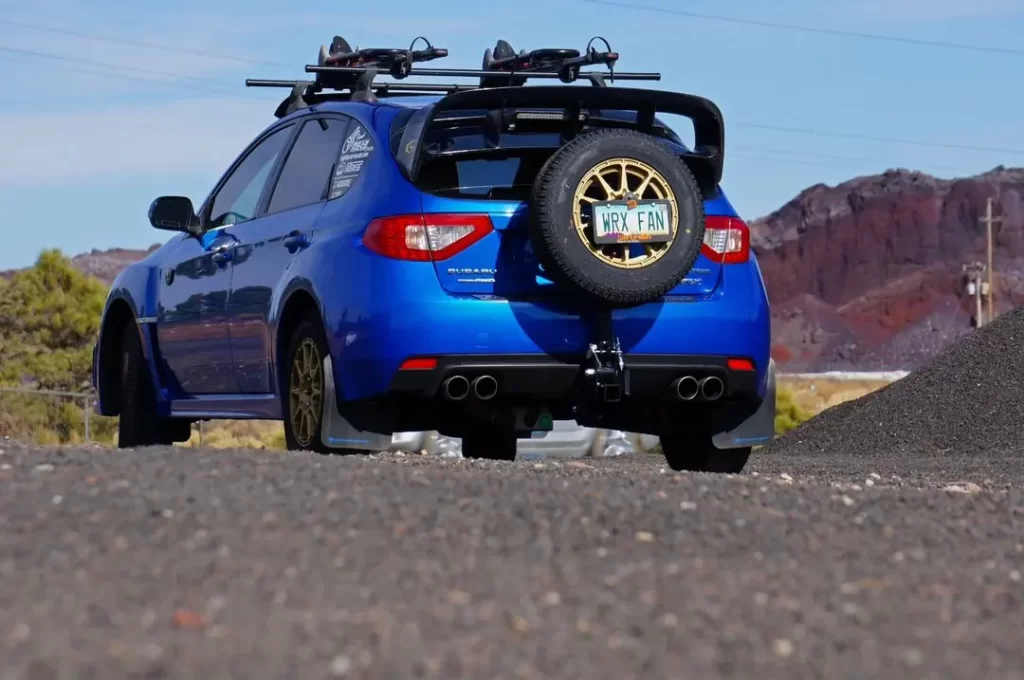
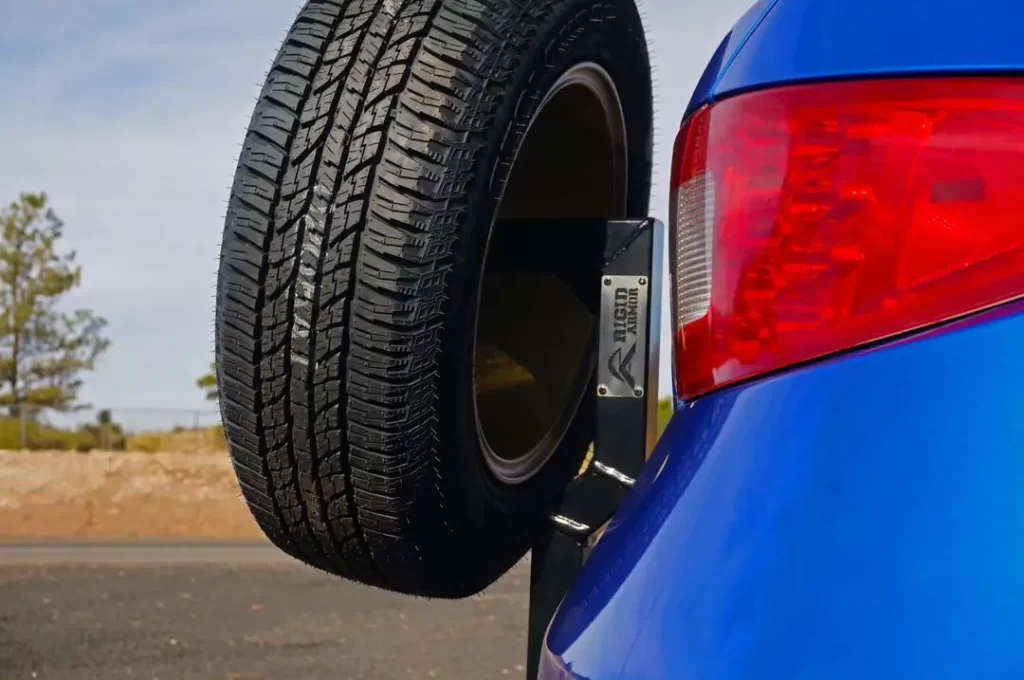
The tire carrier that I had on the road trip was a RigD (pronounced rigged) Supply Ultraswing universal. I bought since I really wanted full size spare, but didn’t have any room on the roof (because tent).
I also wanted something that I didn’t have to really permanently modify my car for. I’m not a big fan of cutting up panels to get mods to fit. The Ultraswing just fits into any 2” receiver hitch and that’s it. Installation was a breeze. If you noticed up top, I said “had”. I no longer have the Ultraswing. I actually wound up selling it. The main reason being, it was a little heavy. At 70lbs for the Ultraswing, and some more weight from the actual spare tire, my car sat pretty low in the rear. It was a lot of weight hanging really far back, so it did have an impact.
The Ultraswing also sat pretty low with my hitch being below the bumper and wound up sitting in front of the exhaust tips, which wasn’t an issue, but it didn’t look that great. I wouldn’t say the car handled that much worse with it. The King Springs did a decent job coping with it, but it was still a little much.
Right now, I’m looking into other hitch mounted tire carriers. I really want another. I’m looking at the Wilco Off Road Hitchgate Solo. It’s only 54lbs, so I think that should help a bit. I really still want a hitch mounted tire carrier just for the reason that I don’t need my full-sized spare all the time. I like being able to throw my tent on the roof and the kitchen in the back and turn my car into a fun camping machine and then once I’m back taking it all back off and having a normal daily. I don’t want to have my car be permanently overland. I like having the option!
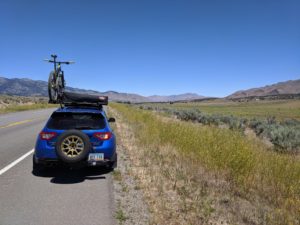
While I was on the Roadtrip2RallySchool, I didn’t have any issue getting my bike to the trailhead. I also didn’t go down any gnarly trails, so it wasn’t really an issue. Most of the times when I go biking, I just have the bike racks on the roof and no tent or tire carrier.
As far as future plans go, the next big thing that I really want to get done is get the auxiliary battery installed. I just bought and installed a Mele Design Firm battery mount allowing me to run a smaller battery and free up some space in the engine bay so I can actually mount the dual battery controller right by the battery. Apart from that, I currently don’t have that much planned. I’m going to do some maintenance items. I’m going to go through and replace all the suspension bushings as they’re starting to wear out. I’m also due for some new brake pads, so I’ll do that as well. I really don’t have anything super major planned. I’m just going to enjoy the car as she sits right. I’m pretty happy with where the build is right now. That doesn’t mean that I won’t do more stuff in the future, but for now I’m pretty happy. Who knows, I might get inspired when I go to Overland Expo next year!
I think the best bit of advice is being realistic about what you want to do and not go too crazy. No matter how much you do to try and modify your Subaru for the off road, it’s still a Subaru at the end of the day, so it won’t be as capable as a Jeep or truck off road, but if you know that and drive it as such, you’ll be fine. Also don’t go overboard with trying to get the maximum amount of lift and biggest tires on your Subie. Too much lift will kill the CVs and you’ll be spending tons replacing those, and that’s no fun. Also don’t go crazy with the tires. Don’t go for some super heavy all terrain. Adding so much mass on your rotating setup will make a big difference in how much horsepower actually makes it to the road. Another thing to keep in mind is that bigger tires will feel like a longer final drive meaning that your ca will have to work harder than it did before to maintain the same speed. Not that big of a deal for the turbo guys, but for everyone without boost will notice a bigger difference. I know that Falken and Yokohama have some great tire offerings now in Subaru friendly sizes, so that is a good place to start. Another thing that I would recommend is asking around to see what other people have done. There are a lot of ways to lift a Subaru, so doing so research of the pros and cons of each will help out a lot and guide you in which way to go depending on what you want to do with your Subie at the end of the day. Hopefully this helps a little!
Convenient Spare Tire Storage | Best Rear Tire Carriers For Subaru
Save CONVENIENT SPARE TIRE STORAGE – BEST REAR TIRE CARRIERS FOR SUBARU By Ben Boxer If you’ve been considering a rear tire carrier for your
Lift Kits For Subaru WRX | Best Options We’ve Found So Far (All Years Included)
Best WRX Lift Kits Our Top Picks & Where To Get Them Right out of the box, the current gen WRX comes with right under
Best Subaru Lift Kits (With Links To Get Them)
Save Subaru Lift Kits: the best brands For off-roading & where to get them By Ben Boxer Lifting your Subaru can be just what your

2013 Lifted WRX: Rallies Dirt Roads & Pavement With Ease
Save Lifted 2013 Subaru WRX: Daily Driving An Offroad Modified Impreza Kyle’s lifted WRX not only looks great and is a blast to drive to
Share via: